IBM Integration PoT Labs Home page
IBM API Connect
The Developer Portal Experience
Lab prerequisite: “Create and Secure an API to Proxy an Existing REST Web Service”
Table of Contents
1. Introduction
In this lab, you will take the API created in the “Create and Secure an API to Proxy an Existing REST Web Service” lab and publish it to a Developer Portal where it will be ready for consumption by application developers.
You will begin by creating a new catalog and configuring the Developer Portal for the Customer 1.0.0 Product. You will then define a new Plan in the Product and publish to the new Developer Portal.
In this lab, you will explore the following key capabilities:
-
Configure the Developer Portal and publish the APIs
-
Create a Portal Account
-
Create an application and subscribe to a Plan
-
Test the API in the Developer Portal
2. Generate the Developer Portal
A Developer Portal for the Sandbox catalog has already been configured in this environment.
2a. Login to the API Connect Developer Portal
1. If you are not already logged into the Platform Navigator, enter the URL for the Platform Navigator that was provided by your instructor.
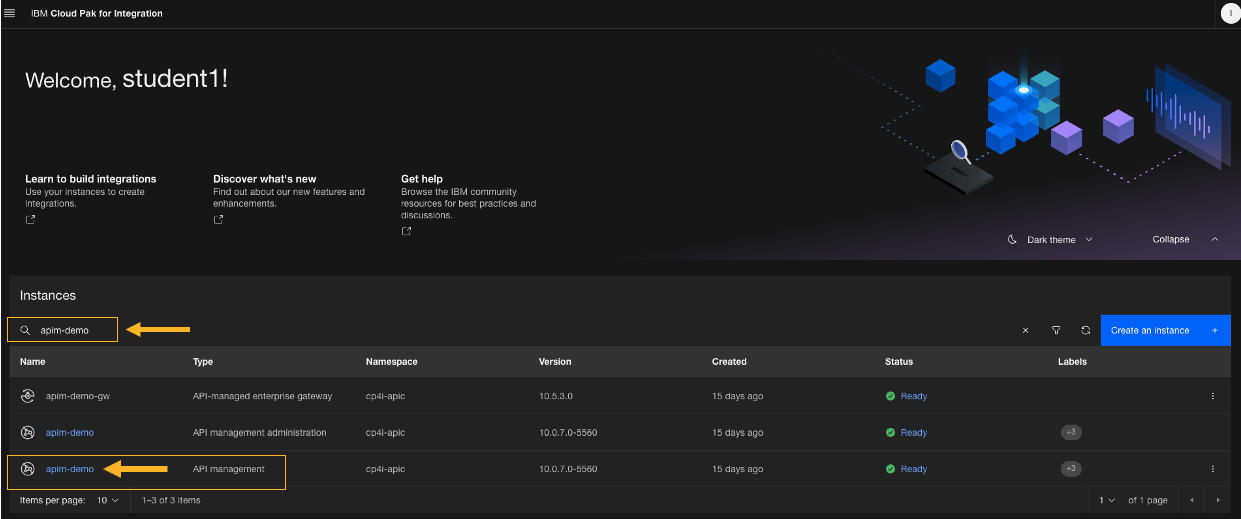
2. Navigate to the API Connect instance.
Type apim-demo in the Filter/Search box
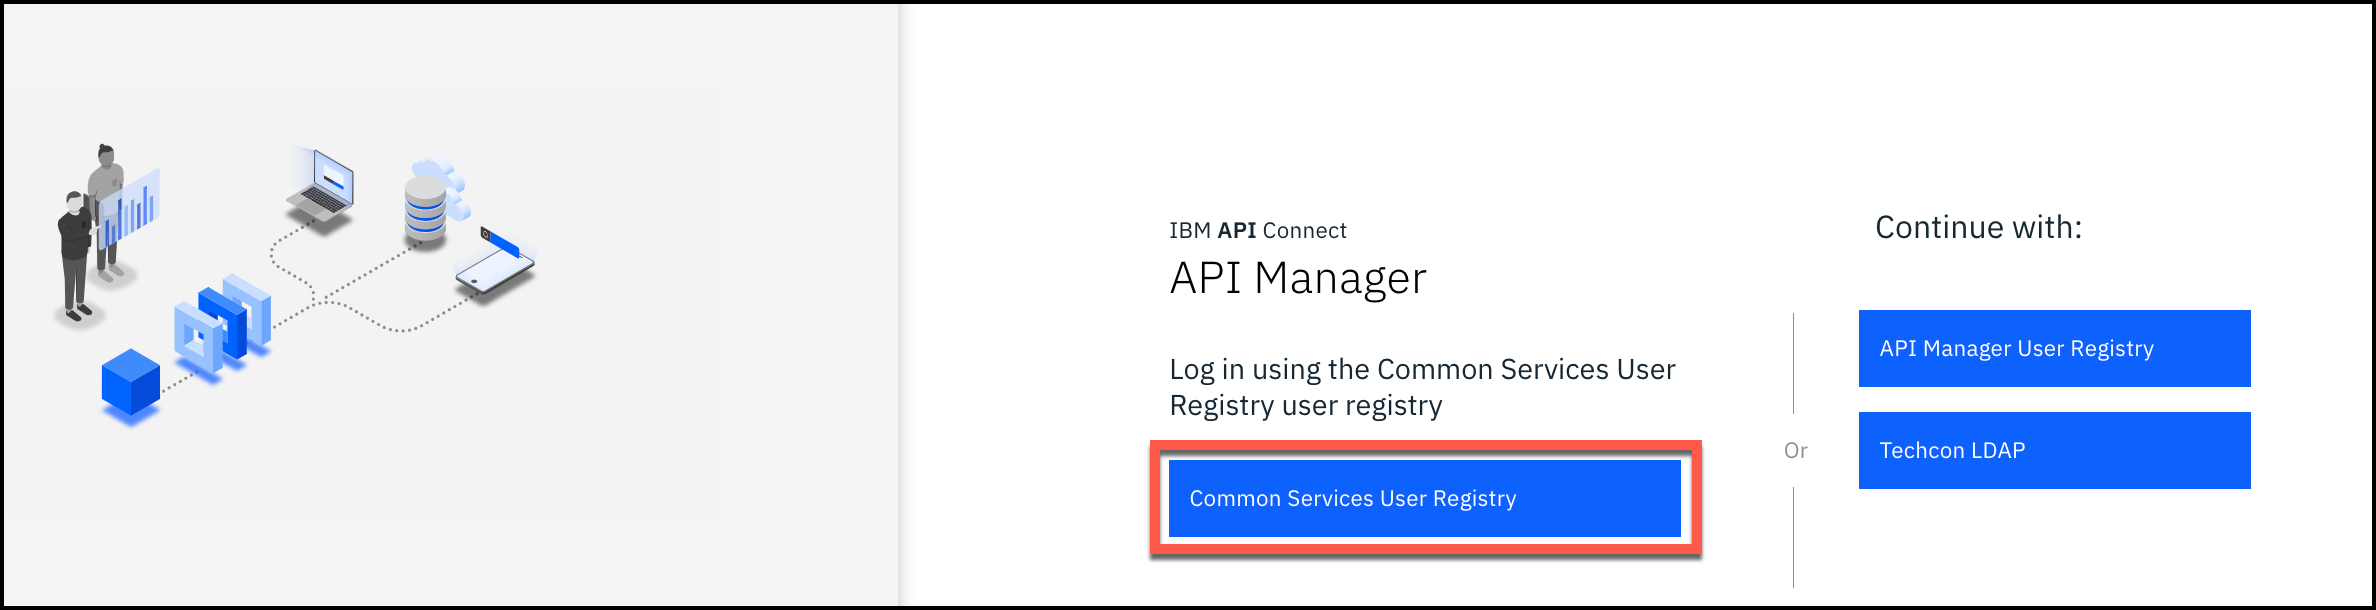
3. If this is your first time logging in, the login page is presented. Click Common Services User Registry.
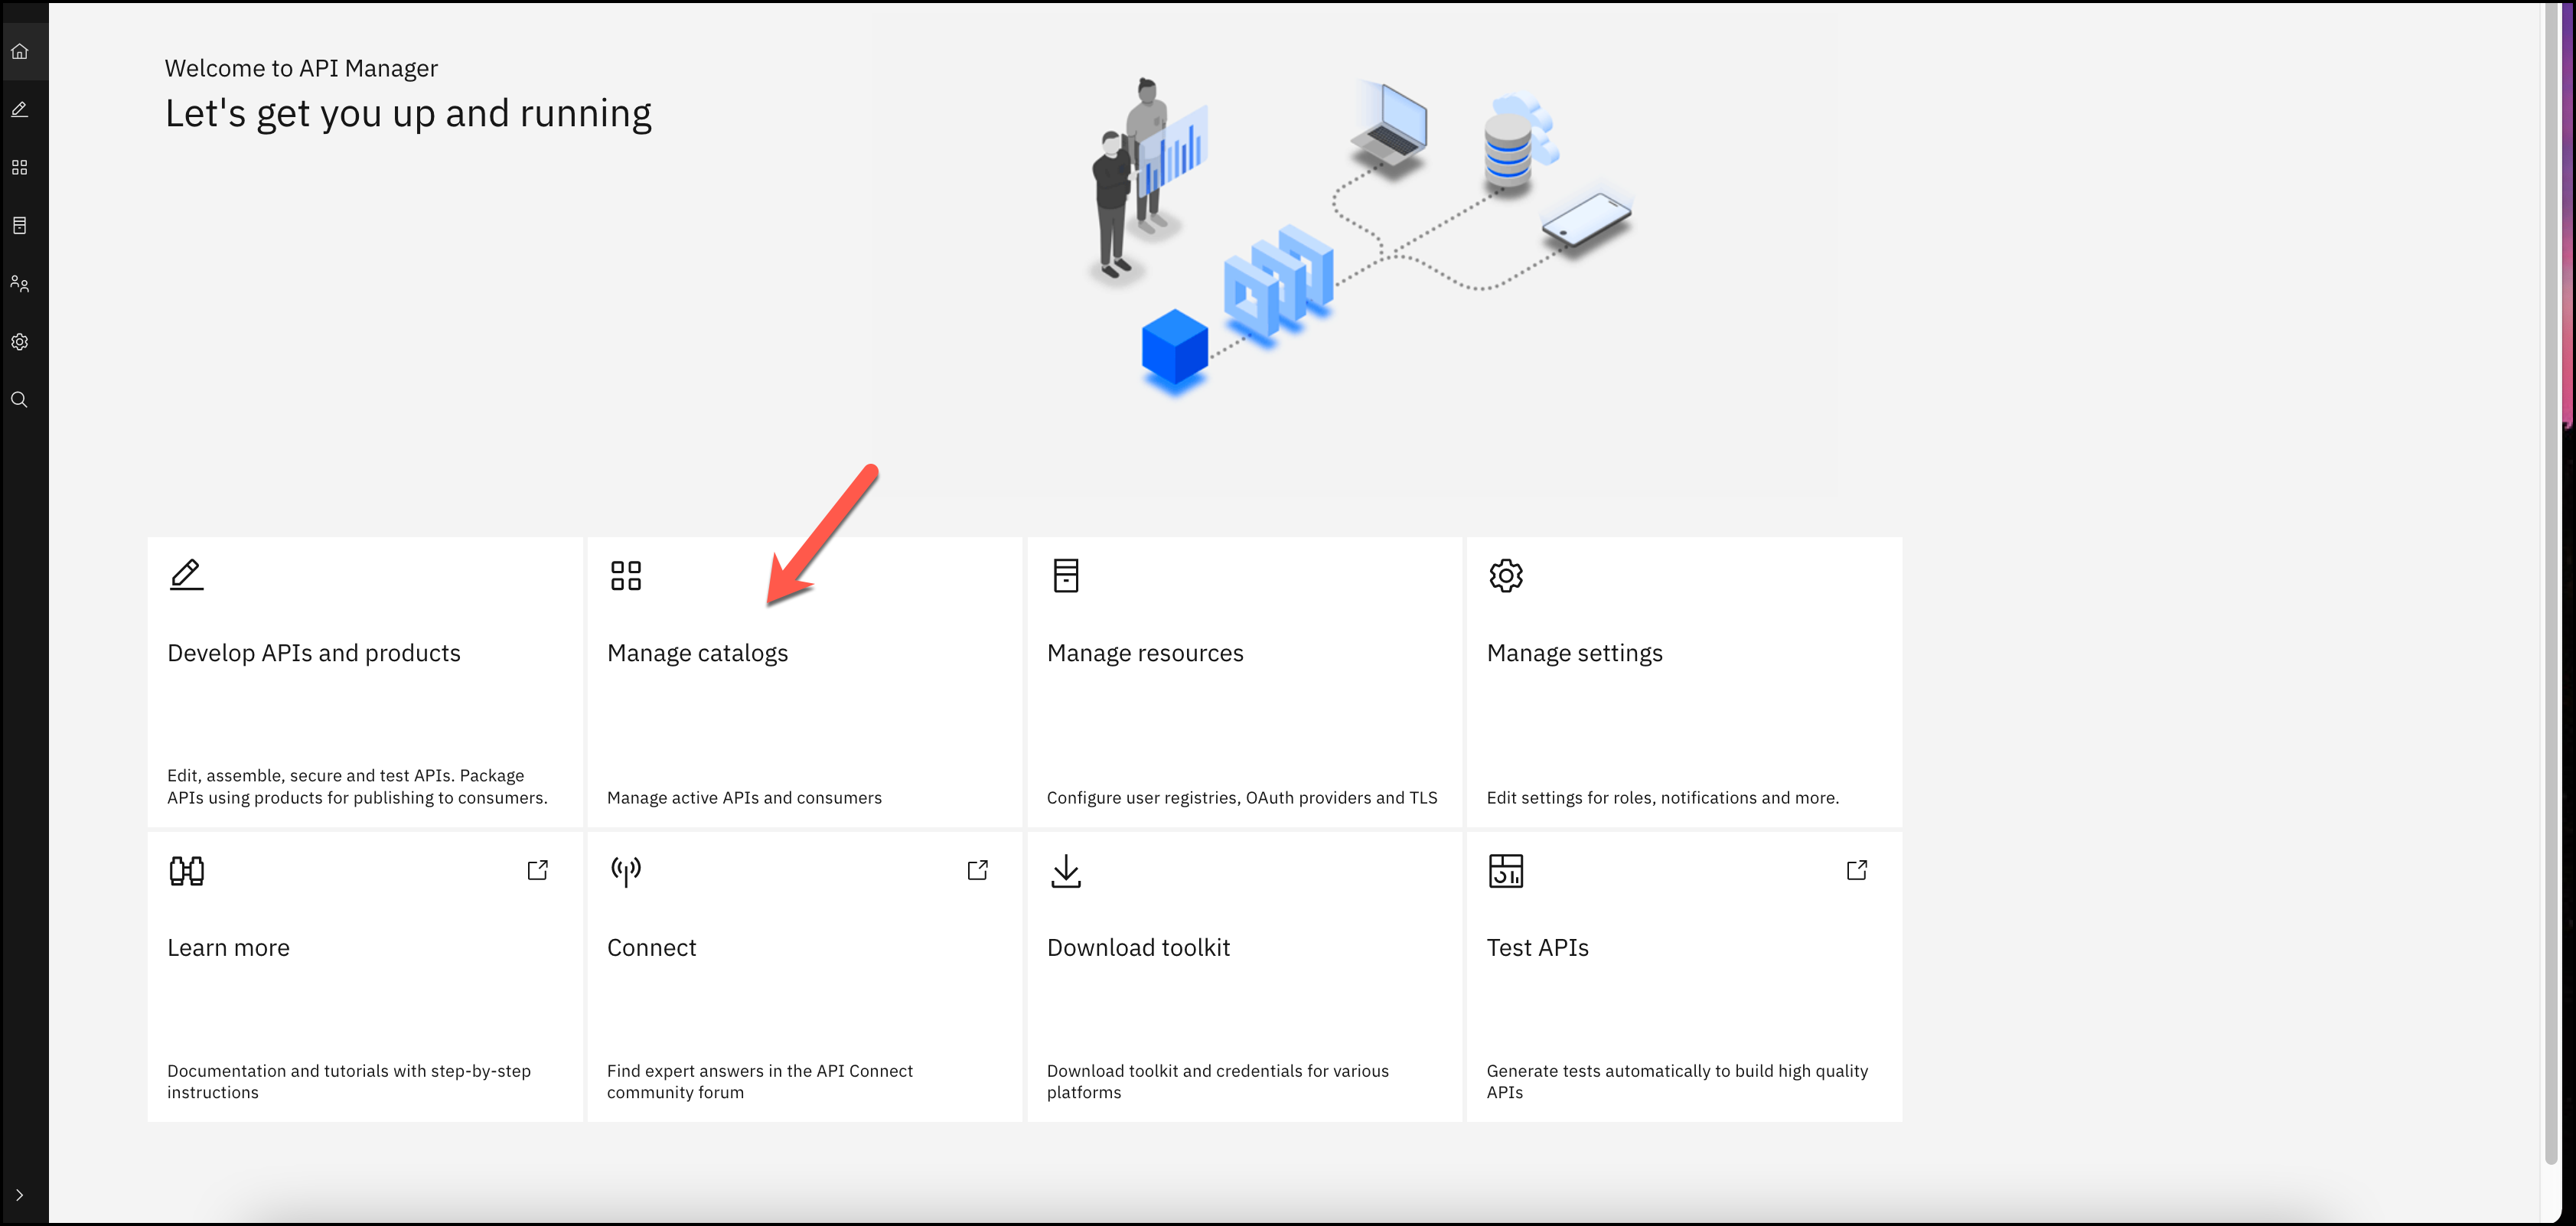
2. If you are already logged in and continuing from the previous lab, click on the Home icon on the left navigation bar to take you to the main API Manager page. If you just logged in, it will take you to the main API Manager page. Click on Manage catalogs.
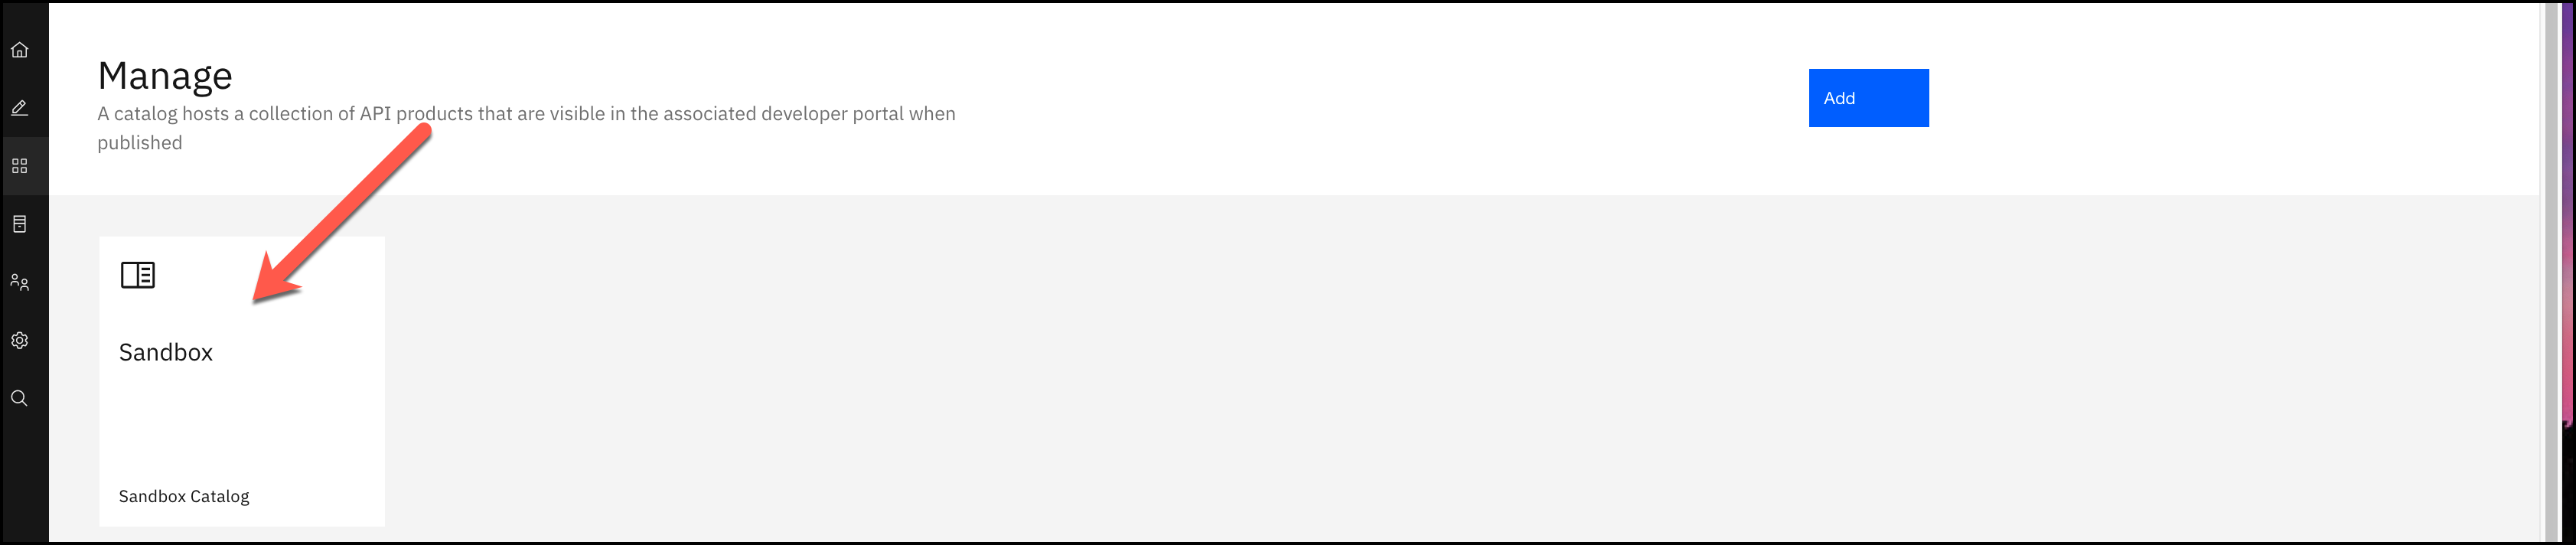
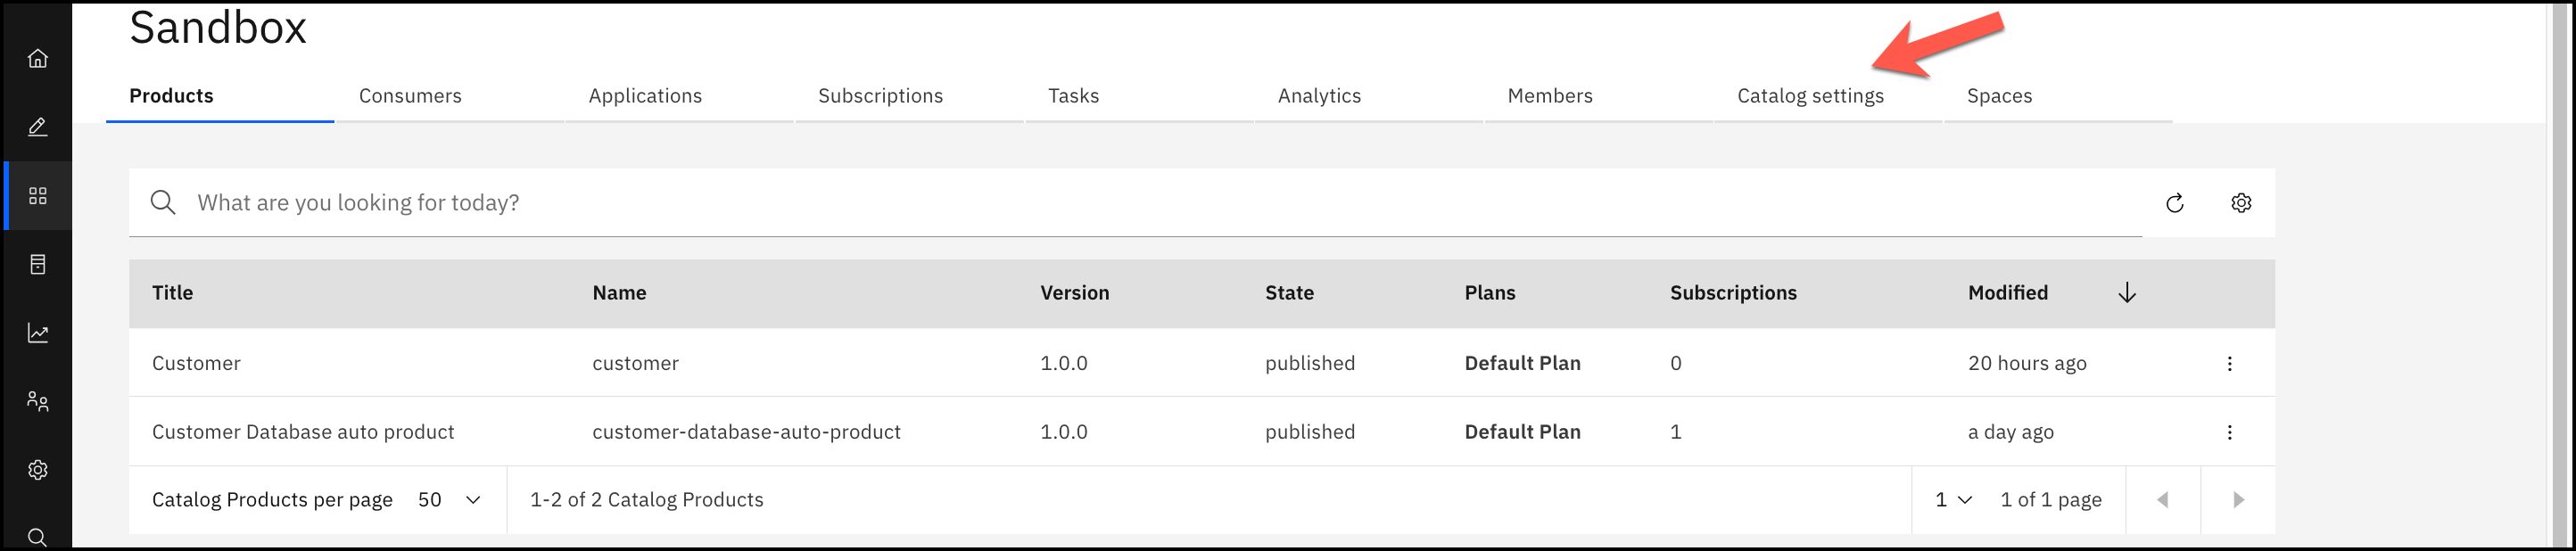
3. Click on Sandbox.
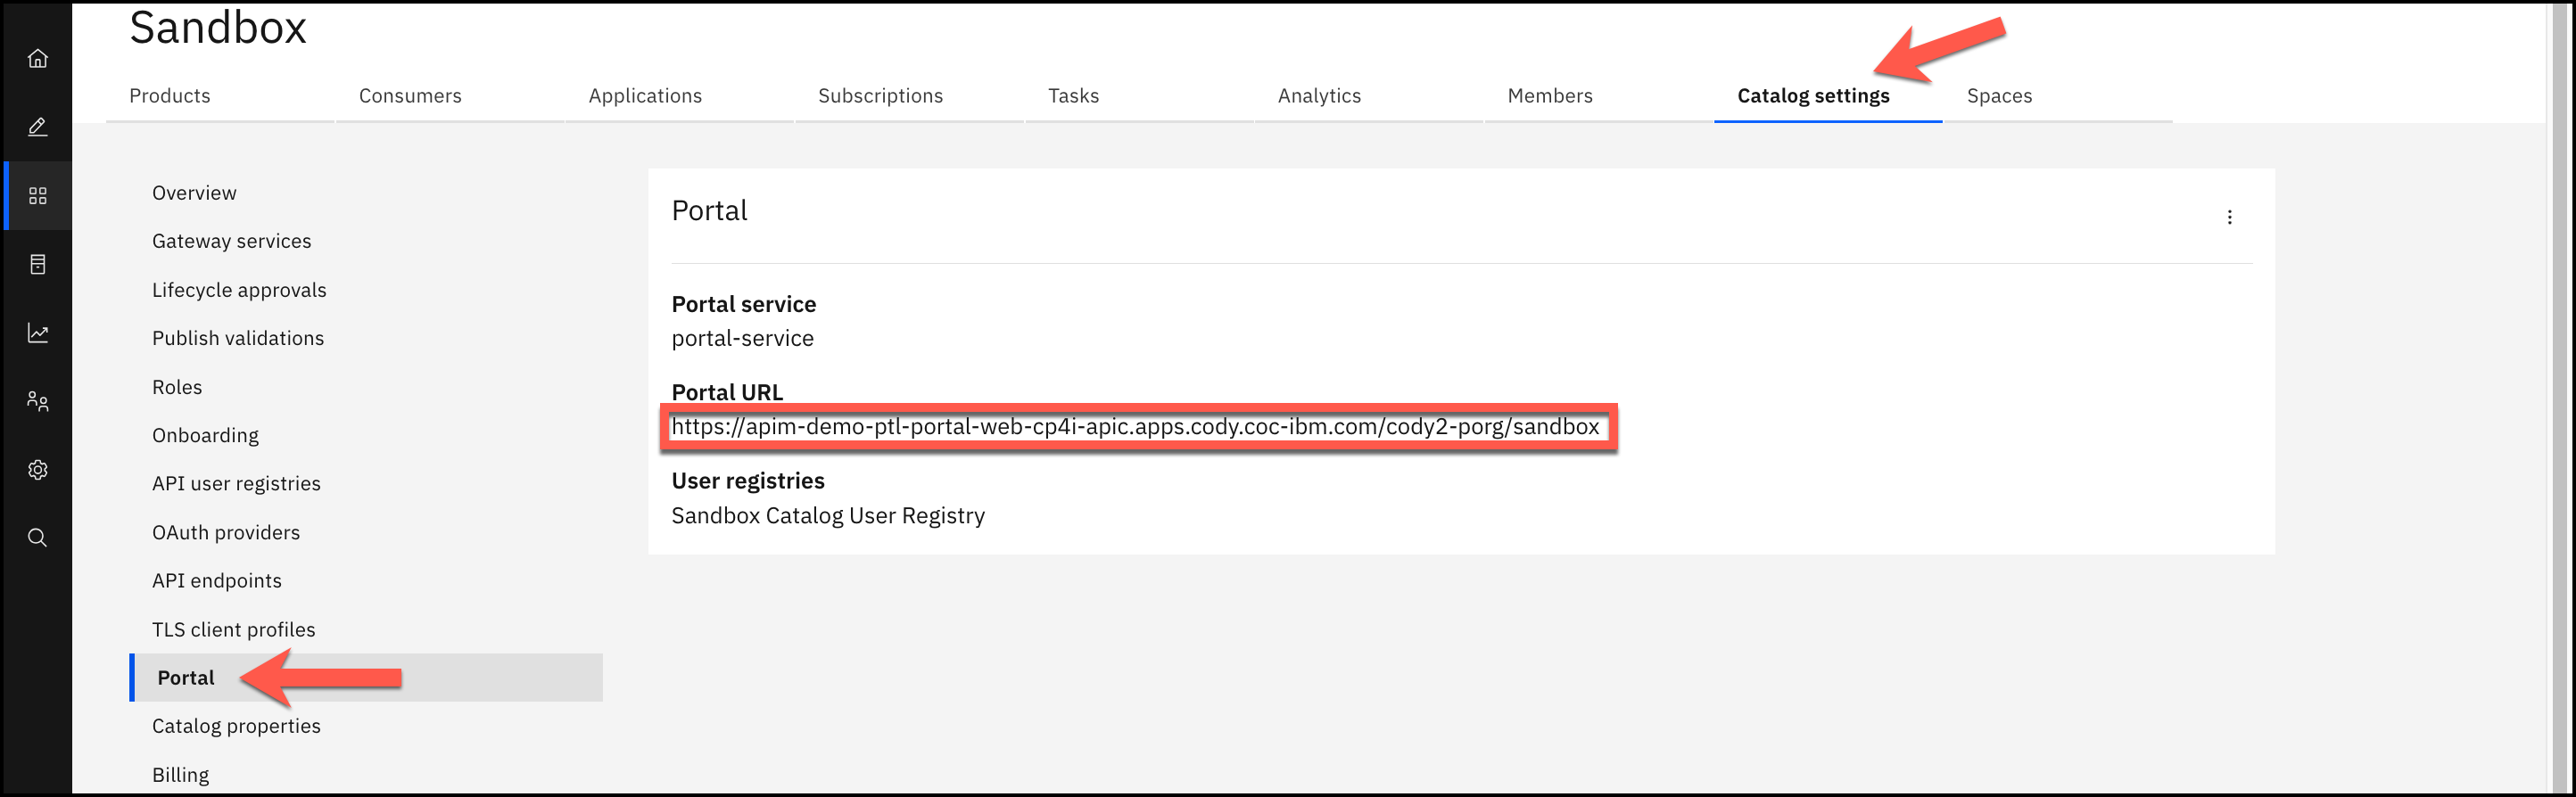
4. Select the Catalog settings tab. Note: Depending on how many labs you have completed, your Products list may differ then what is reflected in the screenshot.
5. From the left menu, click on Portal.

6. Highlight the Portal URL and right click to open URL in new tab or paste it in a new browser tab.
Note: If you get a warning message that your connection is not private, you can follow the instructions in the API Connect Experience Prereq instructions to add an exception.
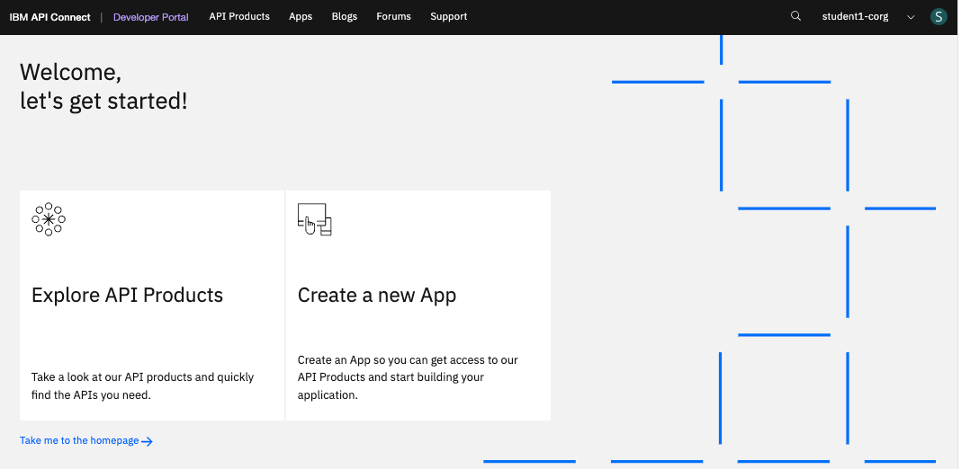
7. The IBM API Connect Developer Portal provides consumers access to API Catalog information. This gives application developers the opportunity to explore and test APIs, register applications, and subscribe to Plans.
A Portal Administrator can customize the look and feel to their organizational specifications. The default Developer Portal looks like the image below. Note: Depending on what you have published, the Products that you see may be different.
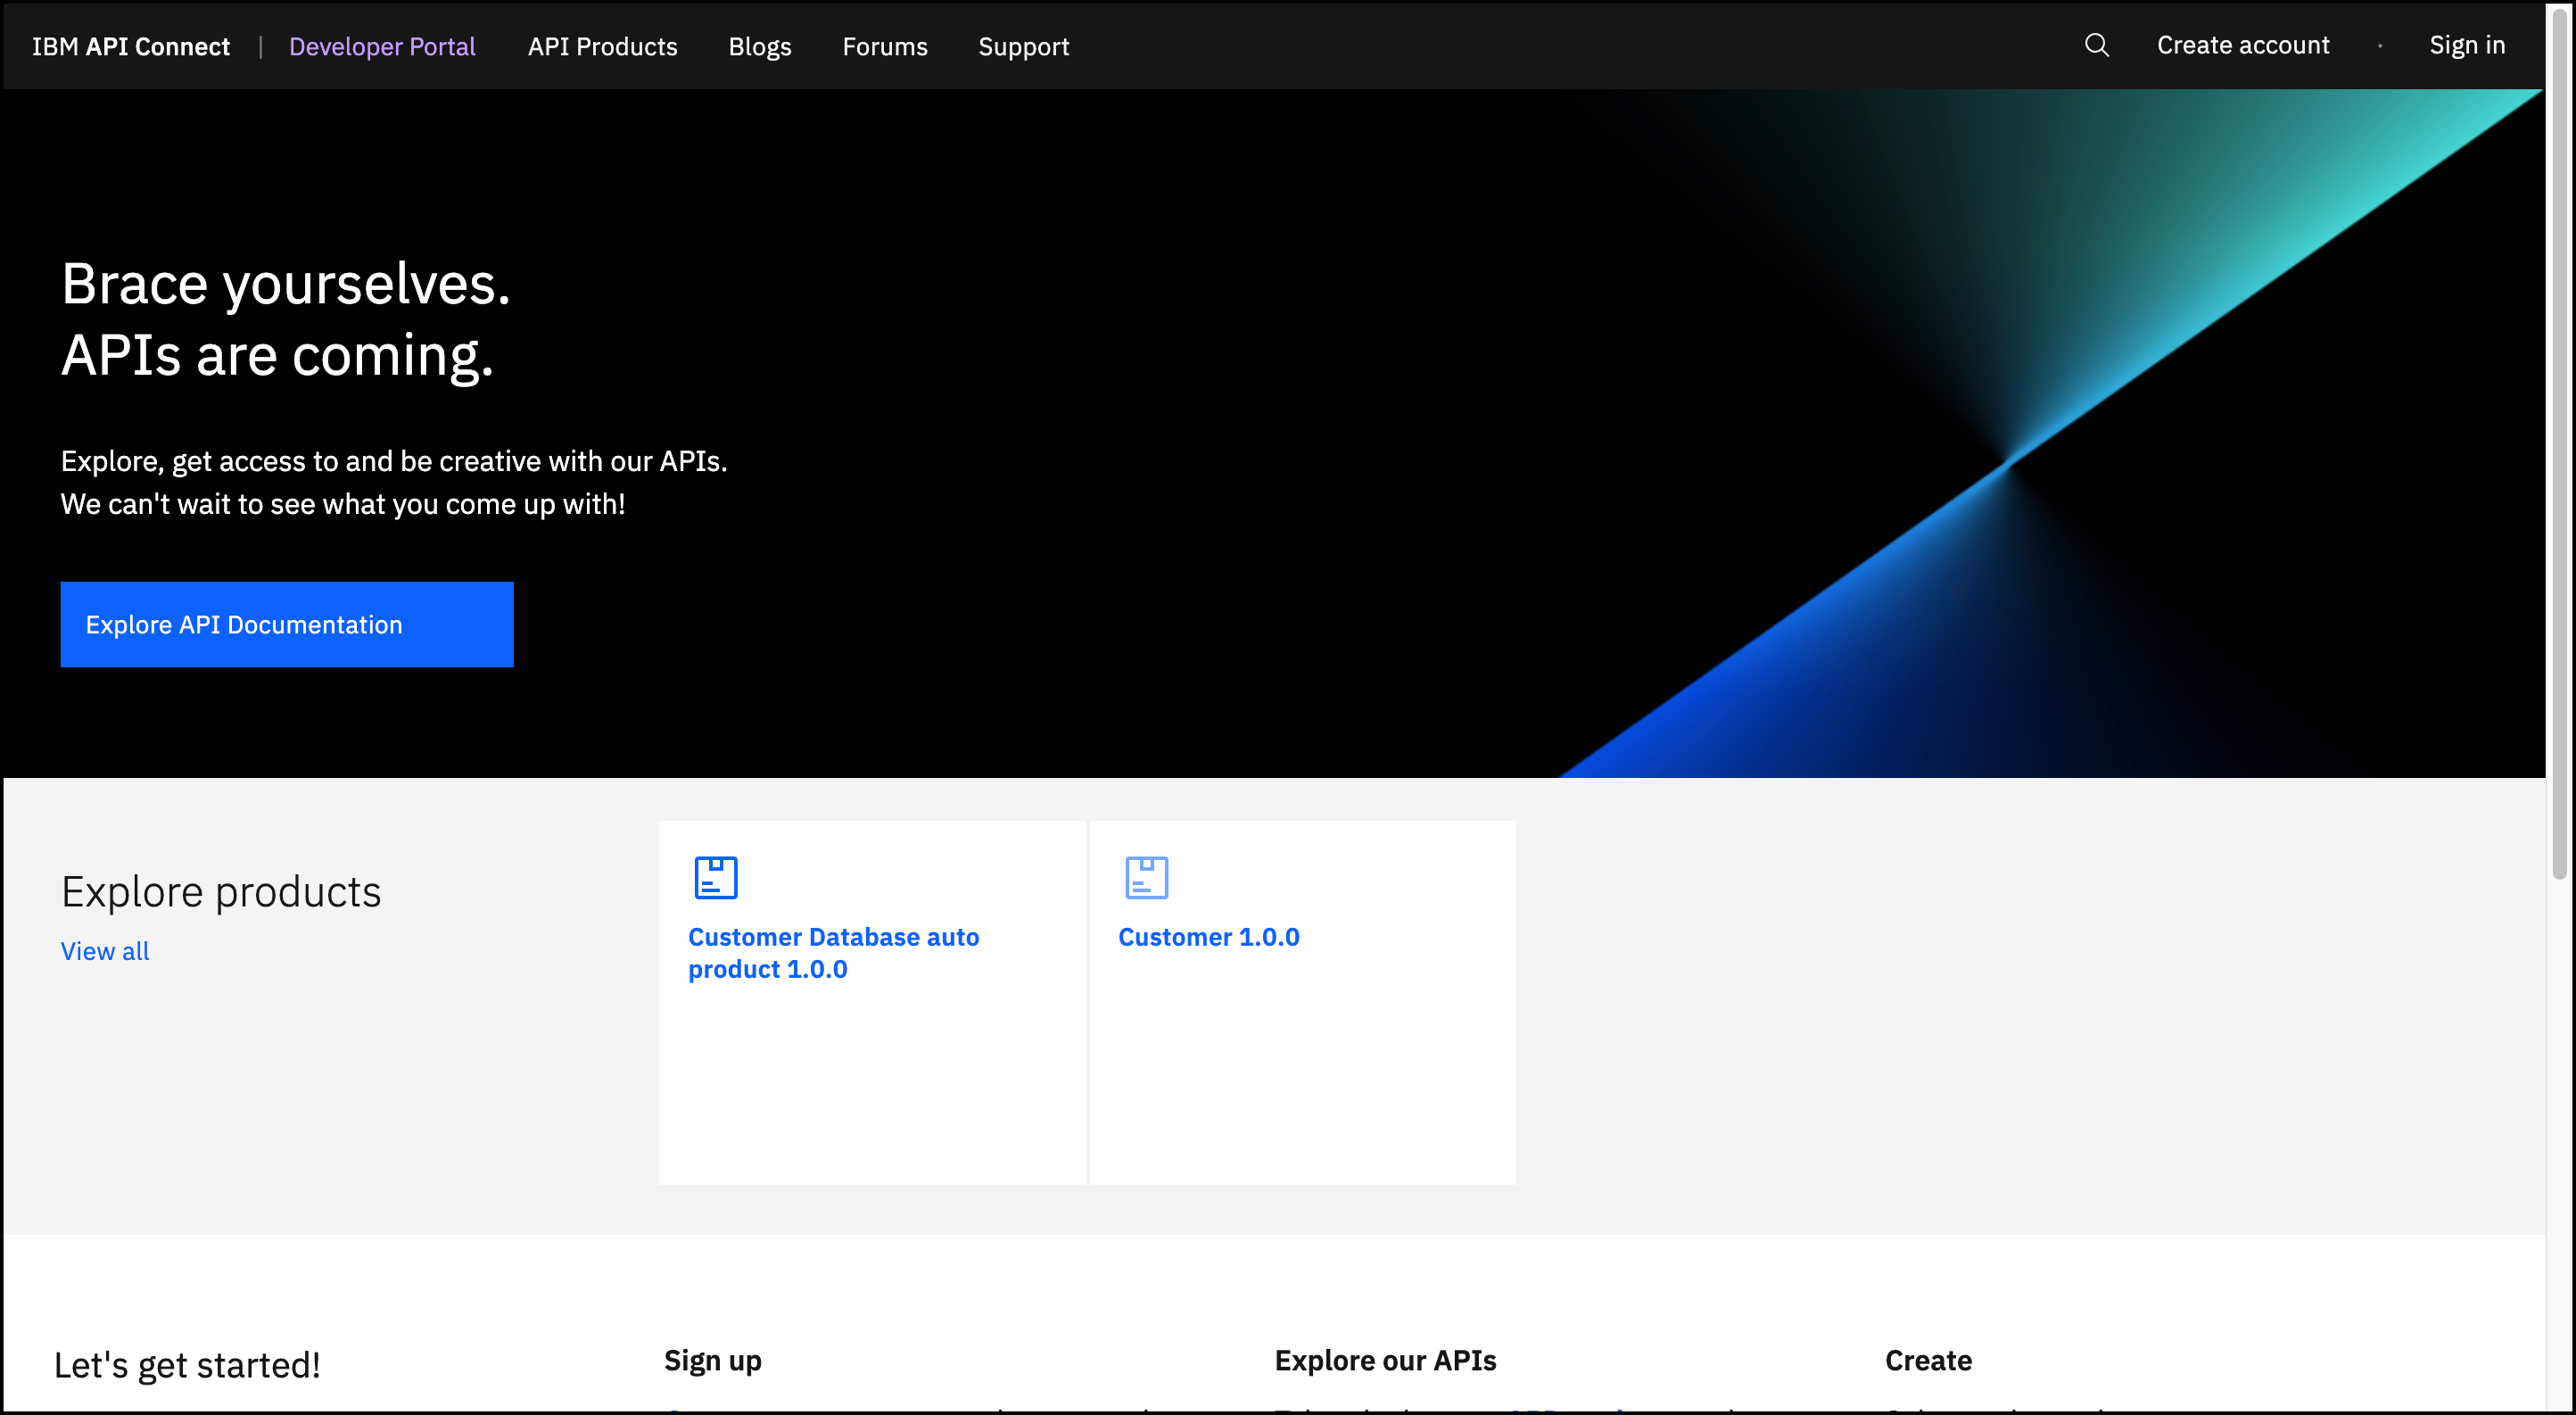
8. Some Products are visible to all users without an account depending on the Product visibility setting. Additional options are available when you log into the Developer Portal.
============================================================================
NOTE:
Sign in to the developer portal as student(n)dev, and password is passw0rd.
SKIP STEPS 9 through 11.
============================================================================
NOTE: In this Proof of Technology, you can create a Consumer account of your own Consumer Organization in the API Connect Experience Prereq instructions. If using the pre-defined Consumer account, go to Step 11 to log into the Developer Portal with your assigned username and password.
If you would like to create your own account to access the Portal, follow the steps below.
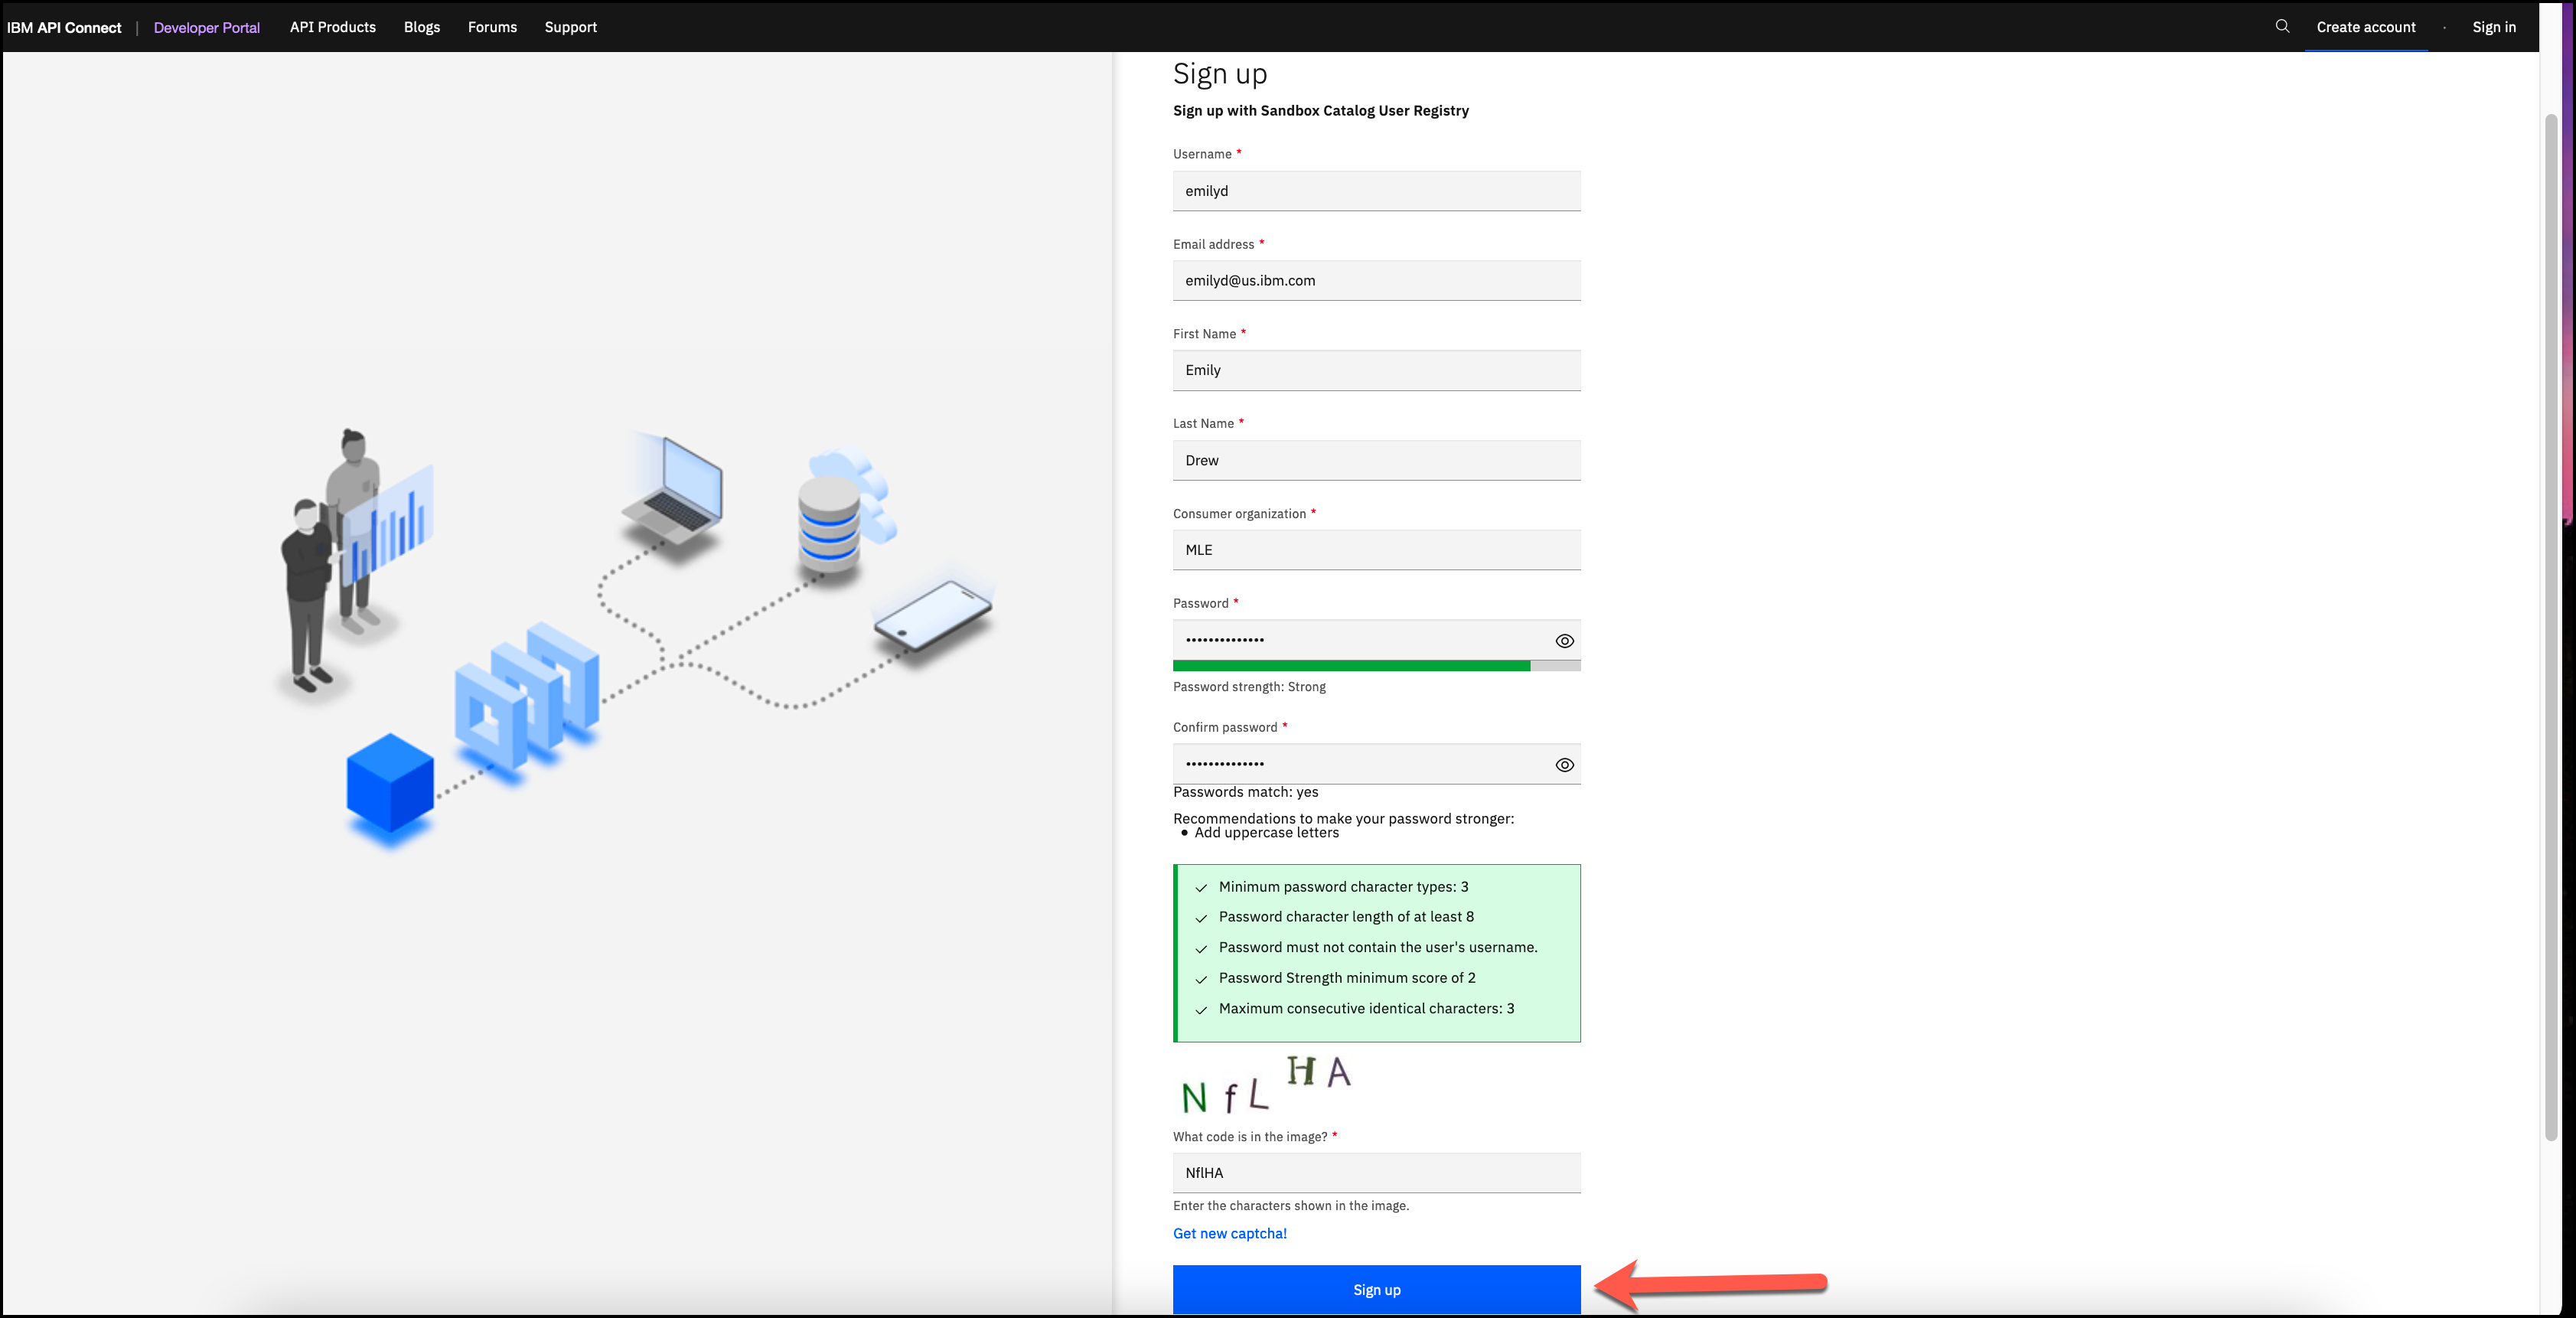
9. To create your own account, click on Create an account.

Next fill out the form and an activation email will be sent to you. Click Sign up.
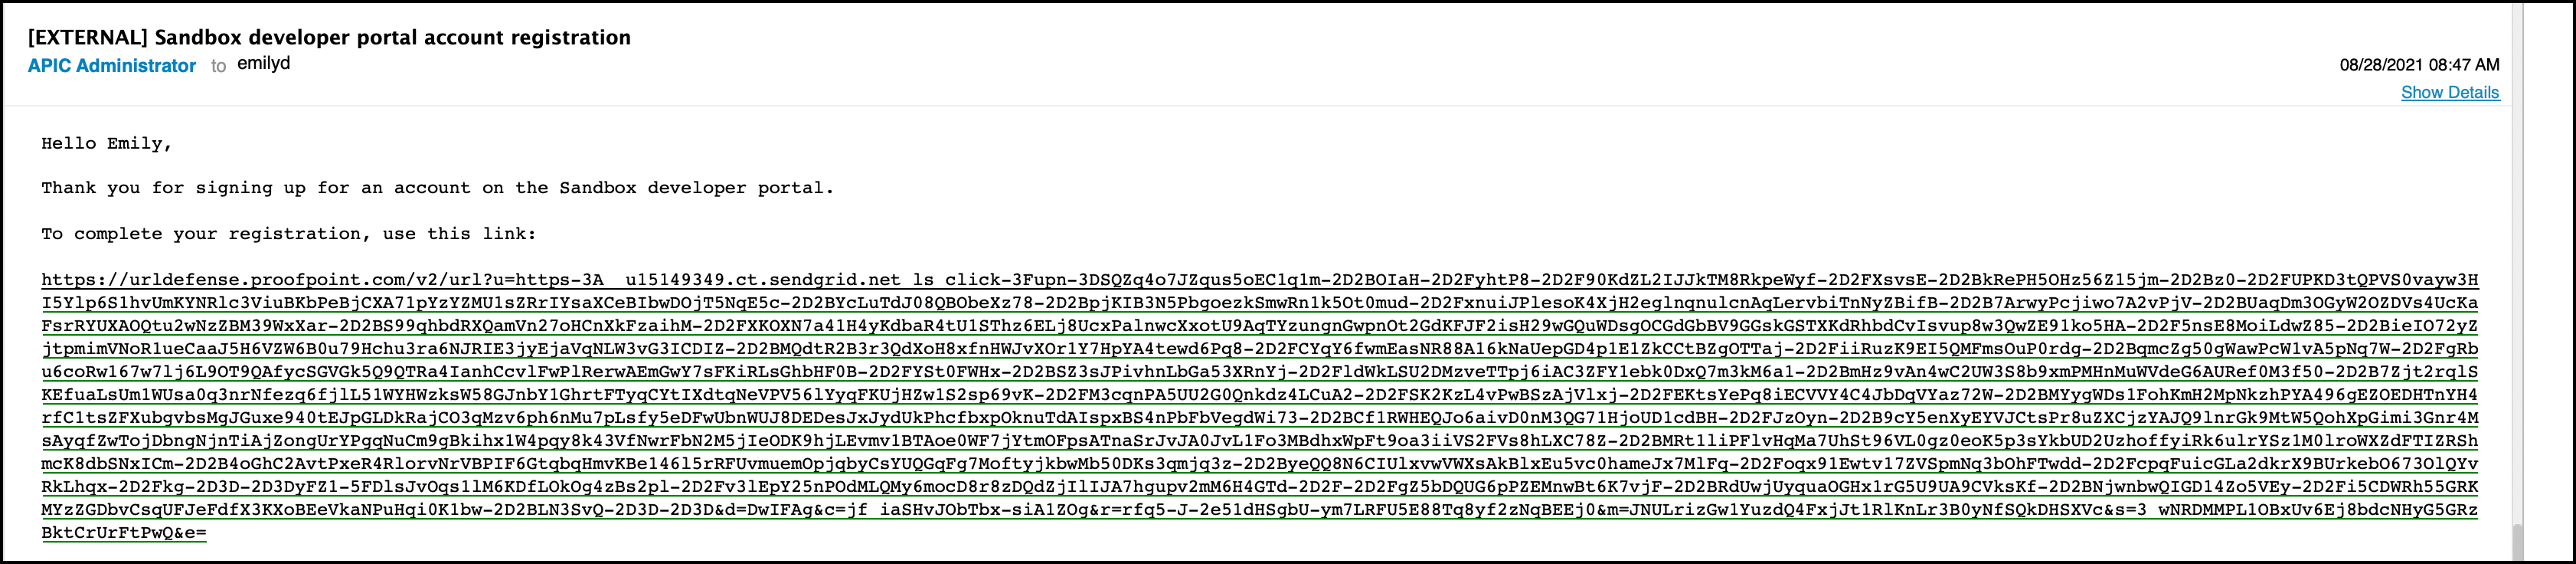
10. You will then receive the activation email. Copy the link and paste in to your browser to complete the registration. Once complete, you can log in with your new account.
=================================================================================================
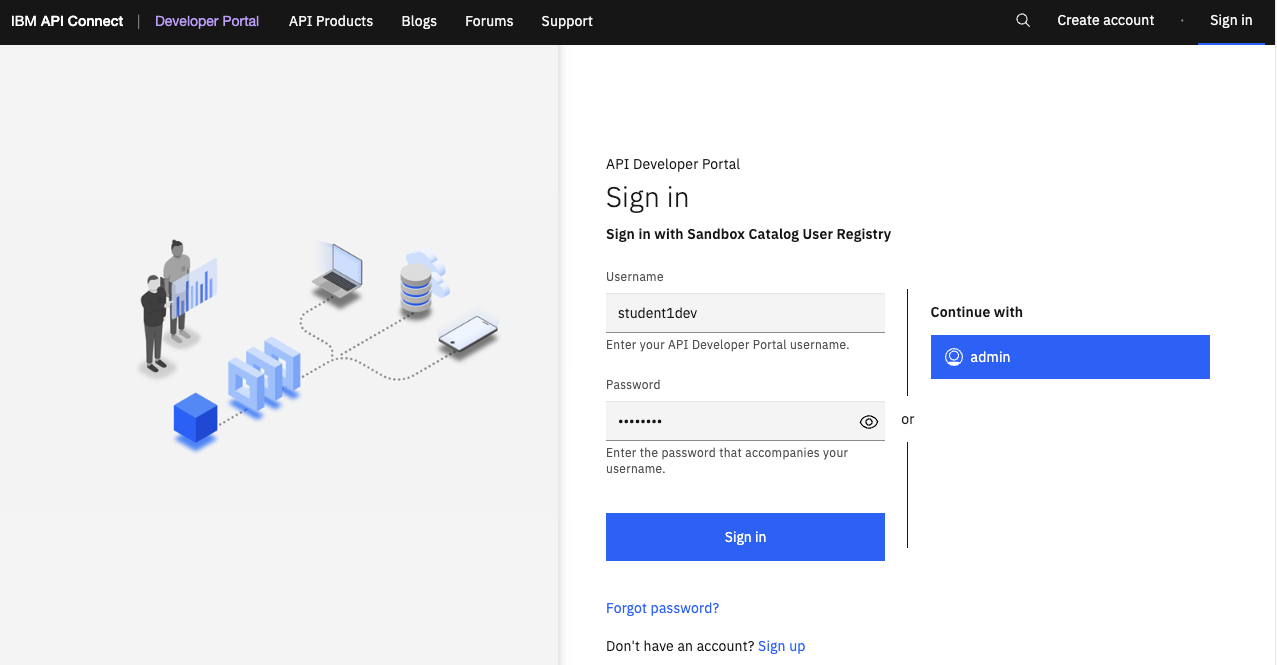
11. You can log into the Developer Portal using the pre-defined Consumer account or the Consumer account that you just created. Click on Sign in on the Dev Portal screen in the upper right corner.
12. The Sign in screen will pop up and you will log in with your Consumer username and password. Login as student(n)dev and password passw0rd.
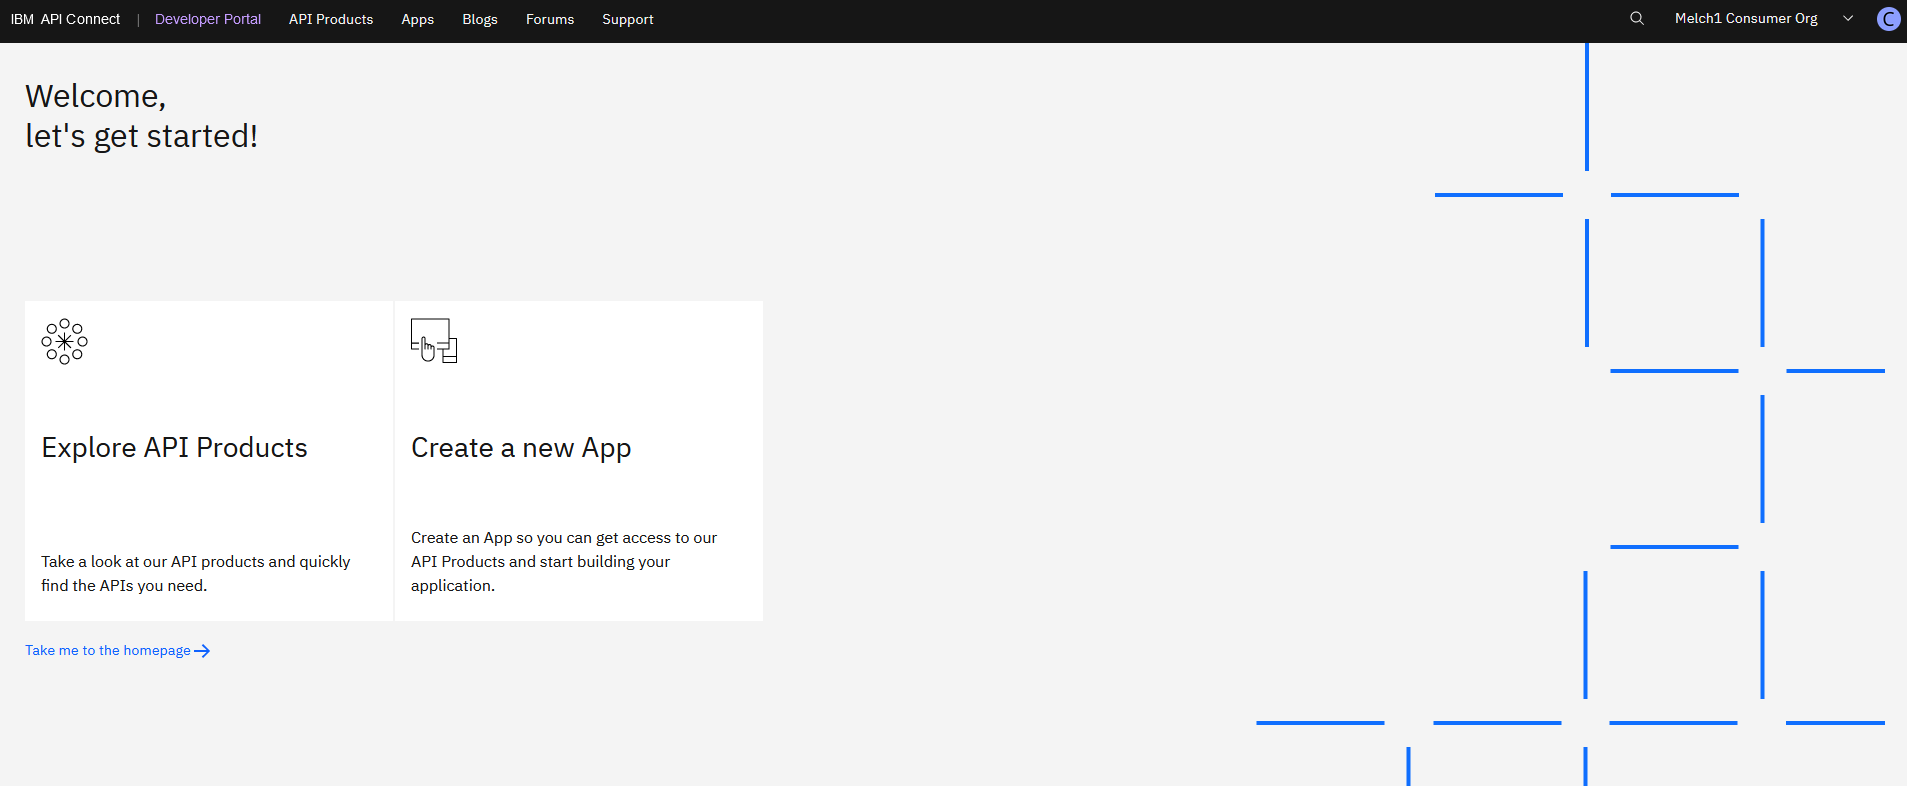
13. Once logged in, you will see the Welcome page for the portal. Continue to the next section to register you test application.
3. Register a Test Application
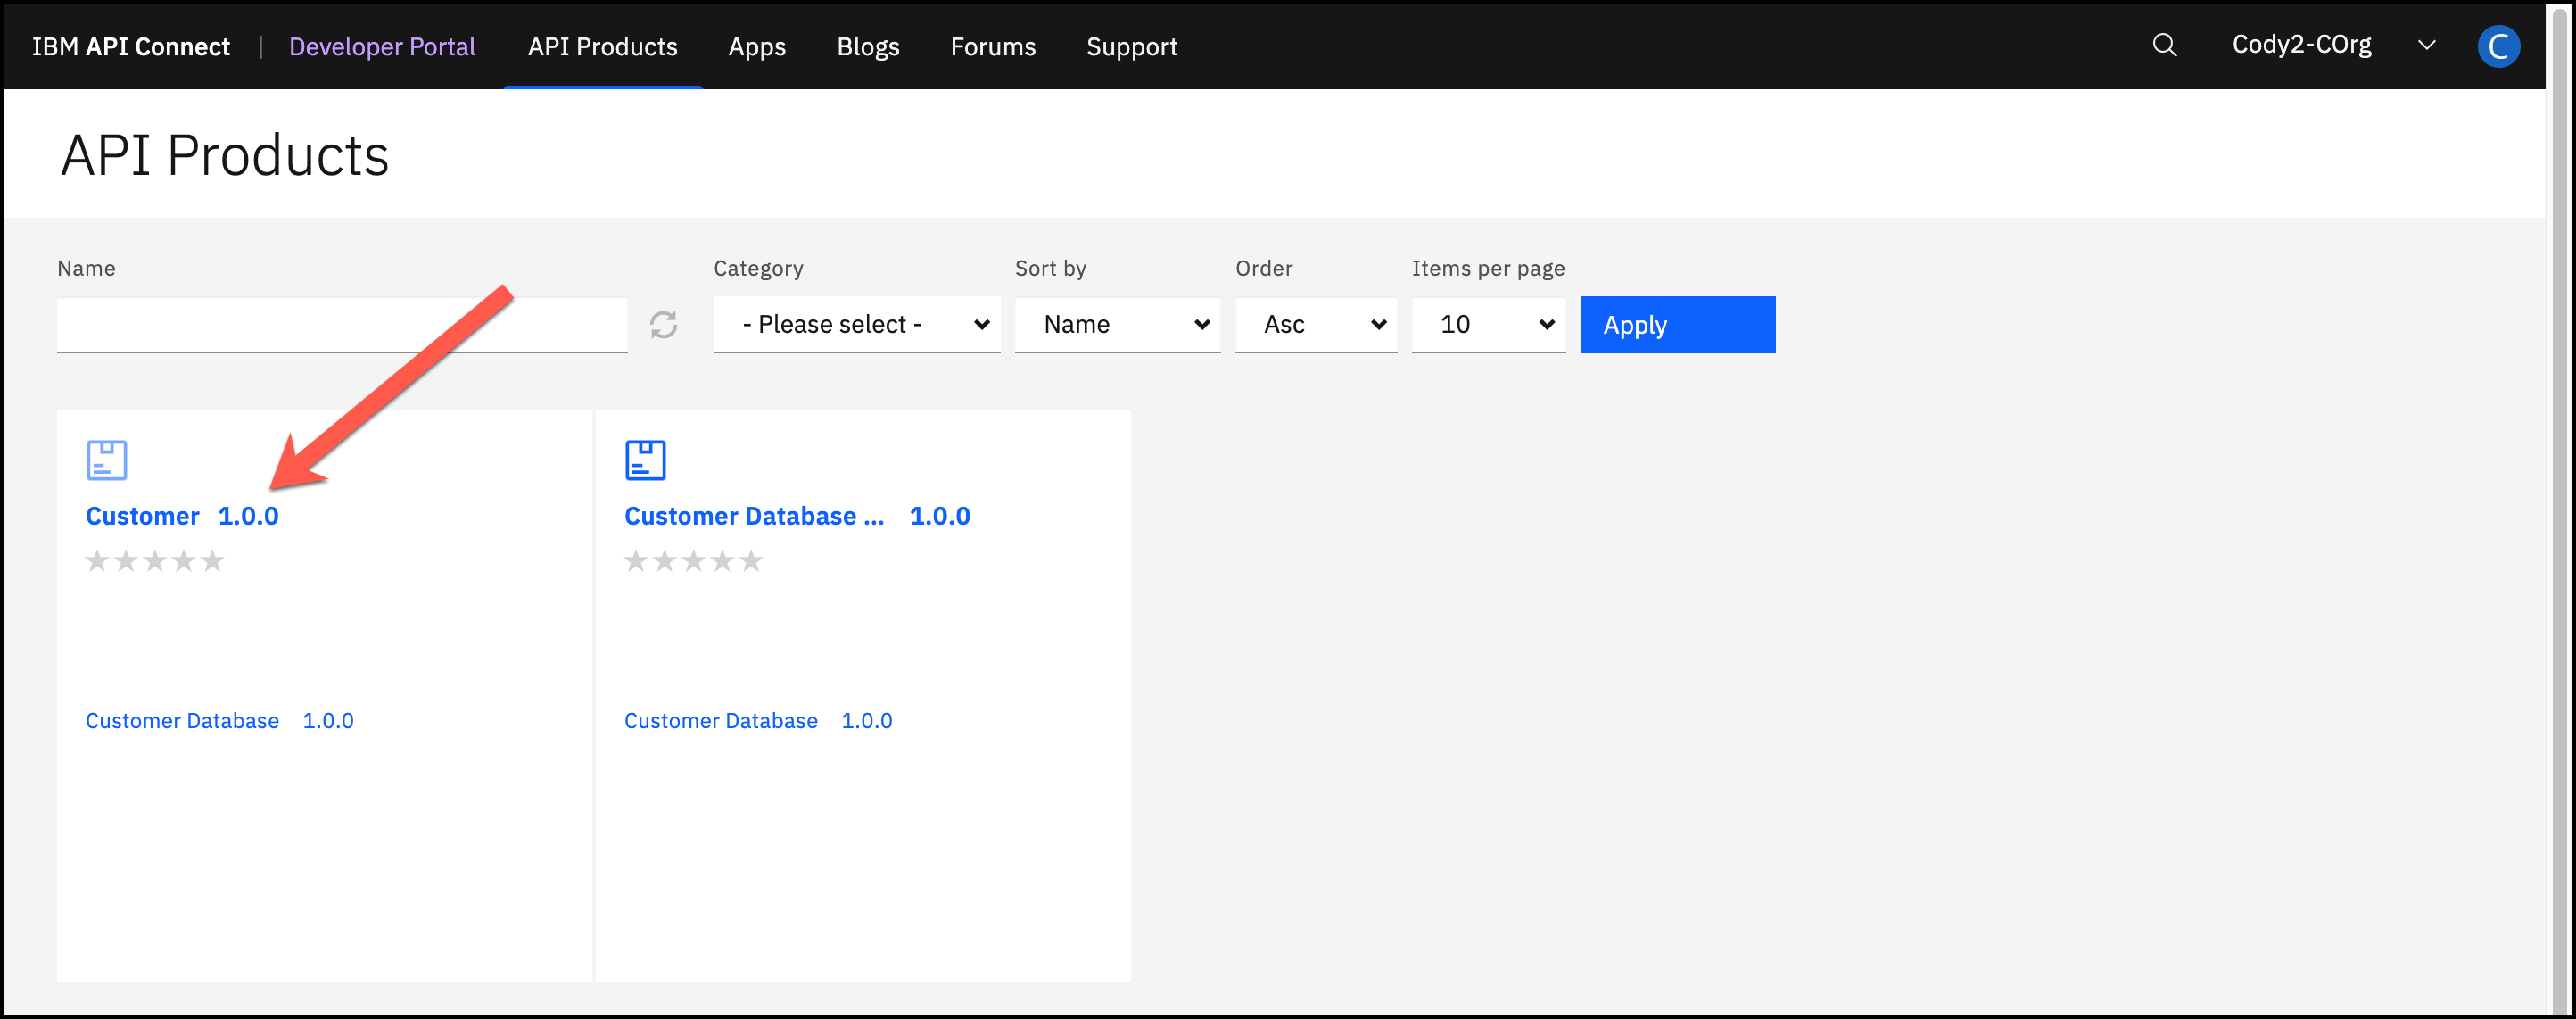
1. You can explore various sections in the Developer Portal. Click on Explore API Products.

2. The Products that you see in your Portal may vary from what is shown in the lab images. Click on Customer 1.0.0. This is the Product that was published in the “Create and Secure an API to Proxy an Existing REST Web Service” lab.
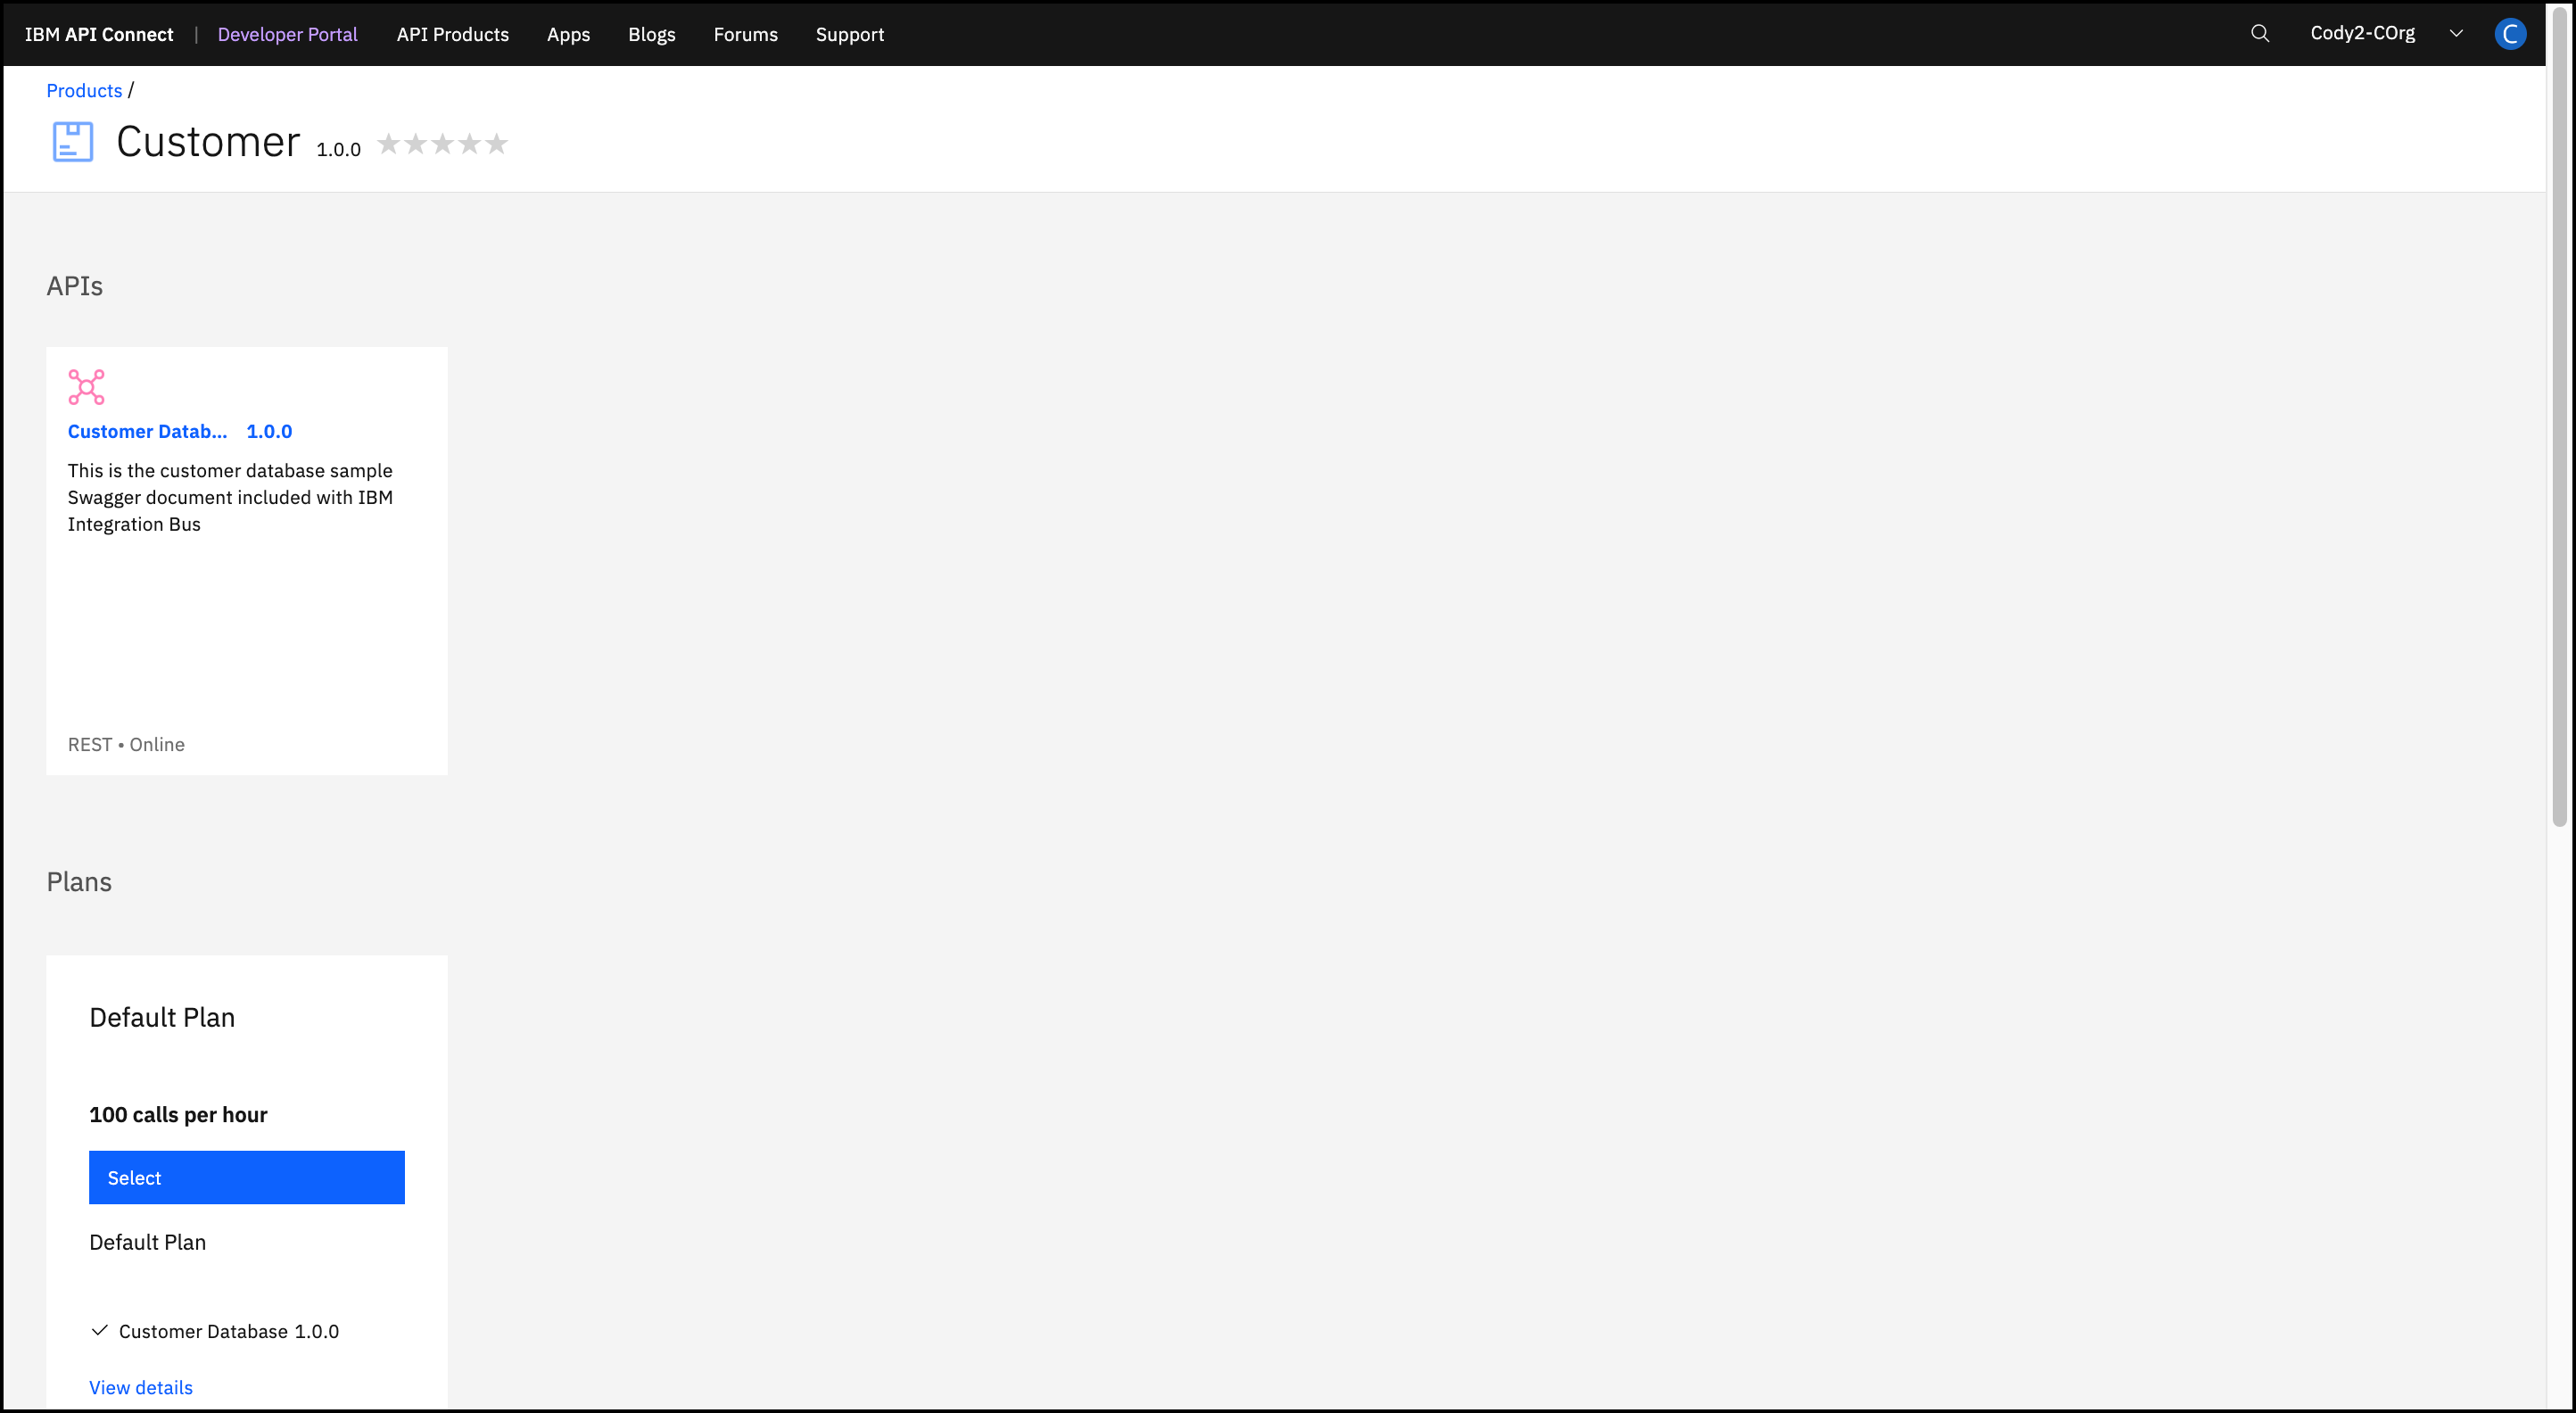
3. You will see the API and Plan that is associated with the Customer 1.0.0 Product.
3a. Create a new Consumer Application
IBM API Connect enforces entitlement rules to ensure that consumers are allowed to access the APIs that are being requested. In the following steps you will register your consumer application and subscribe to an API Product.
1. Click on Apps.

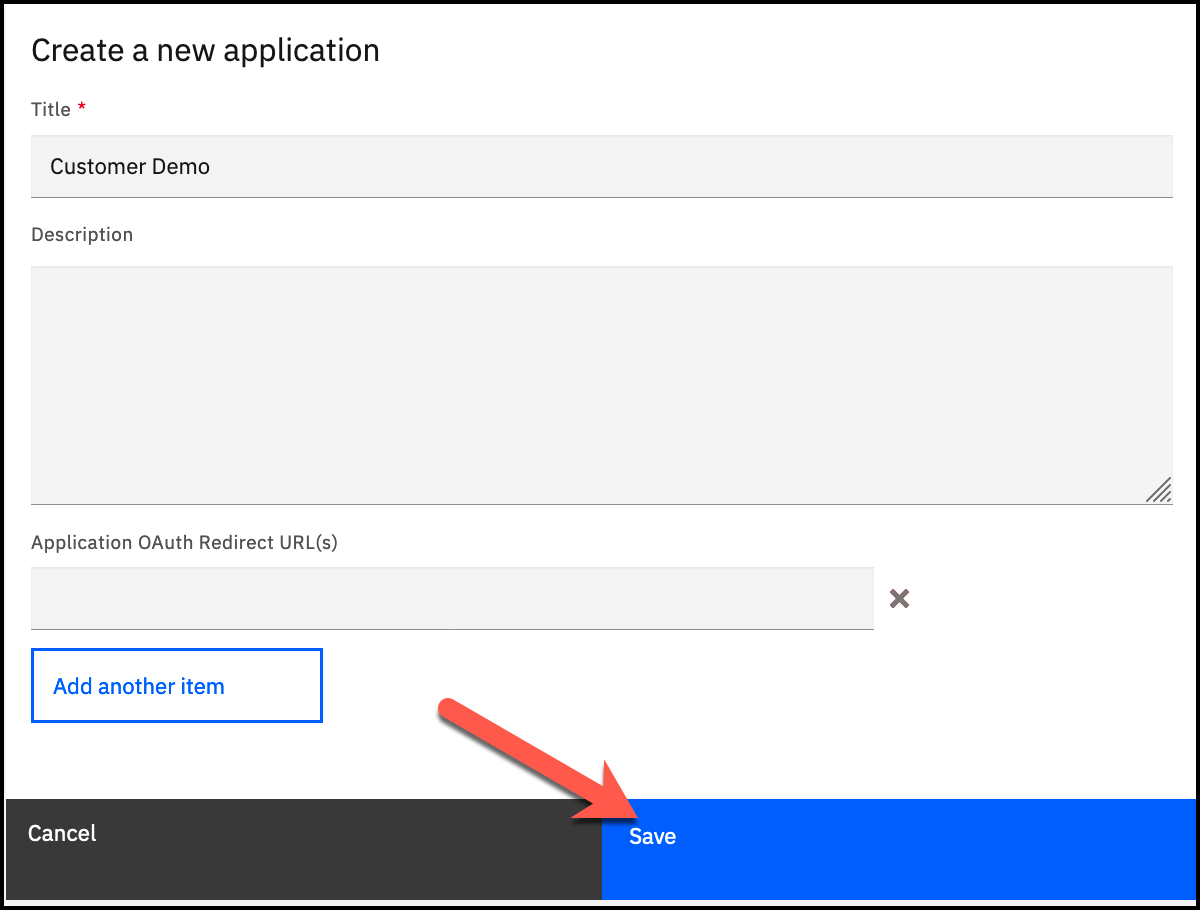
2. Click Create new app.

3. Give your application a title (e.g., Customer Demo) and click Save.
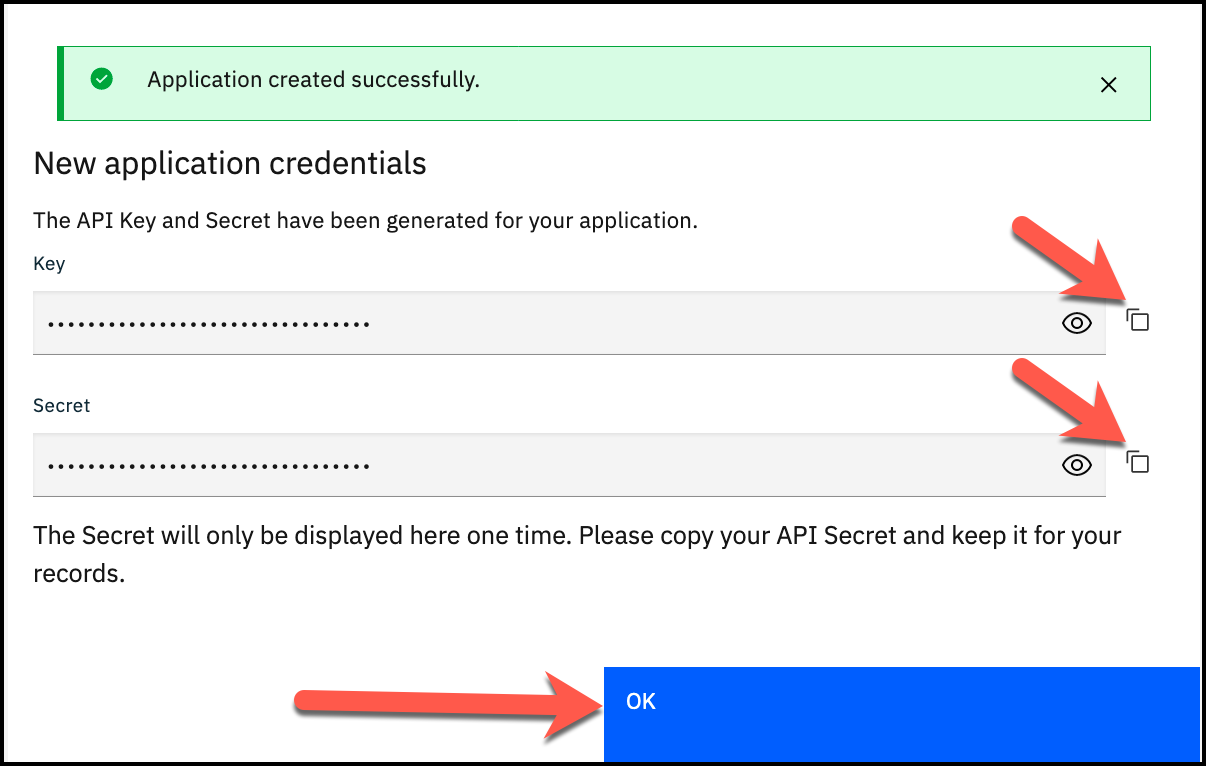
4. When your consumer application is registered in the IBM API Connect system, it is assigned a unique set of client credentials. These credentials must be provided on each API request in order for the system to validate your subscription entitlements. The Client Key can be retrieved anytime but the Client Secret can only be retrieved at this time.
Make note of your Client Key and Client Secret by click on the copy icon for each. NOTE: Copy these to notepad since you will need the Client Secret in a future step.
Click OK.
4. Subscribe to the API Product
At this point, your registered consumer application has no entitlements.
In order to grant it access to an API resource, you must subscribe to a Product and Plan.
1. Click on API Products.

2. Click the Customer 1.0.0 Product.

3. Click on Select for the Default Plan.

4. Select the application (e.g., Customer Demo) that you just created. Note: The number of applications that you see in your environment may differ.

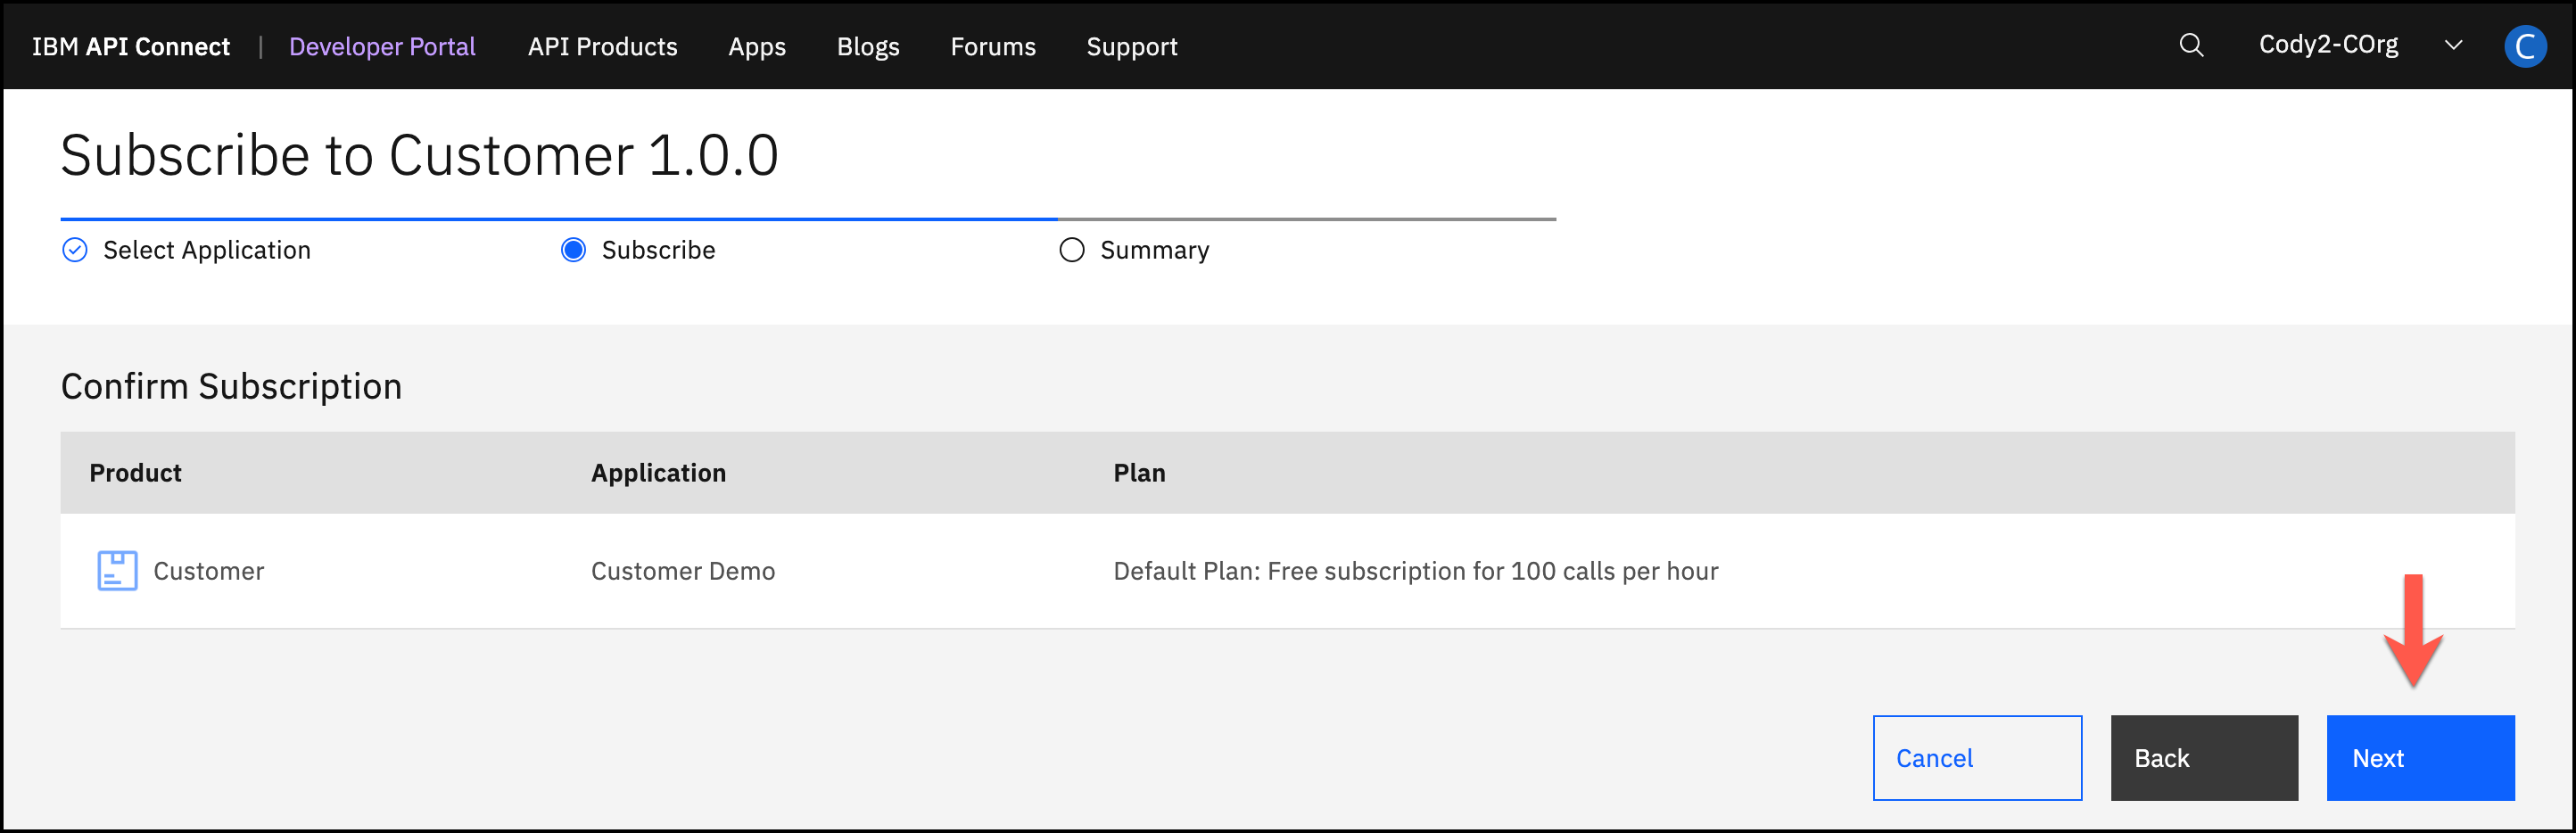
5. Review the subscription information and click Next.
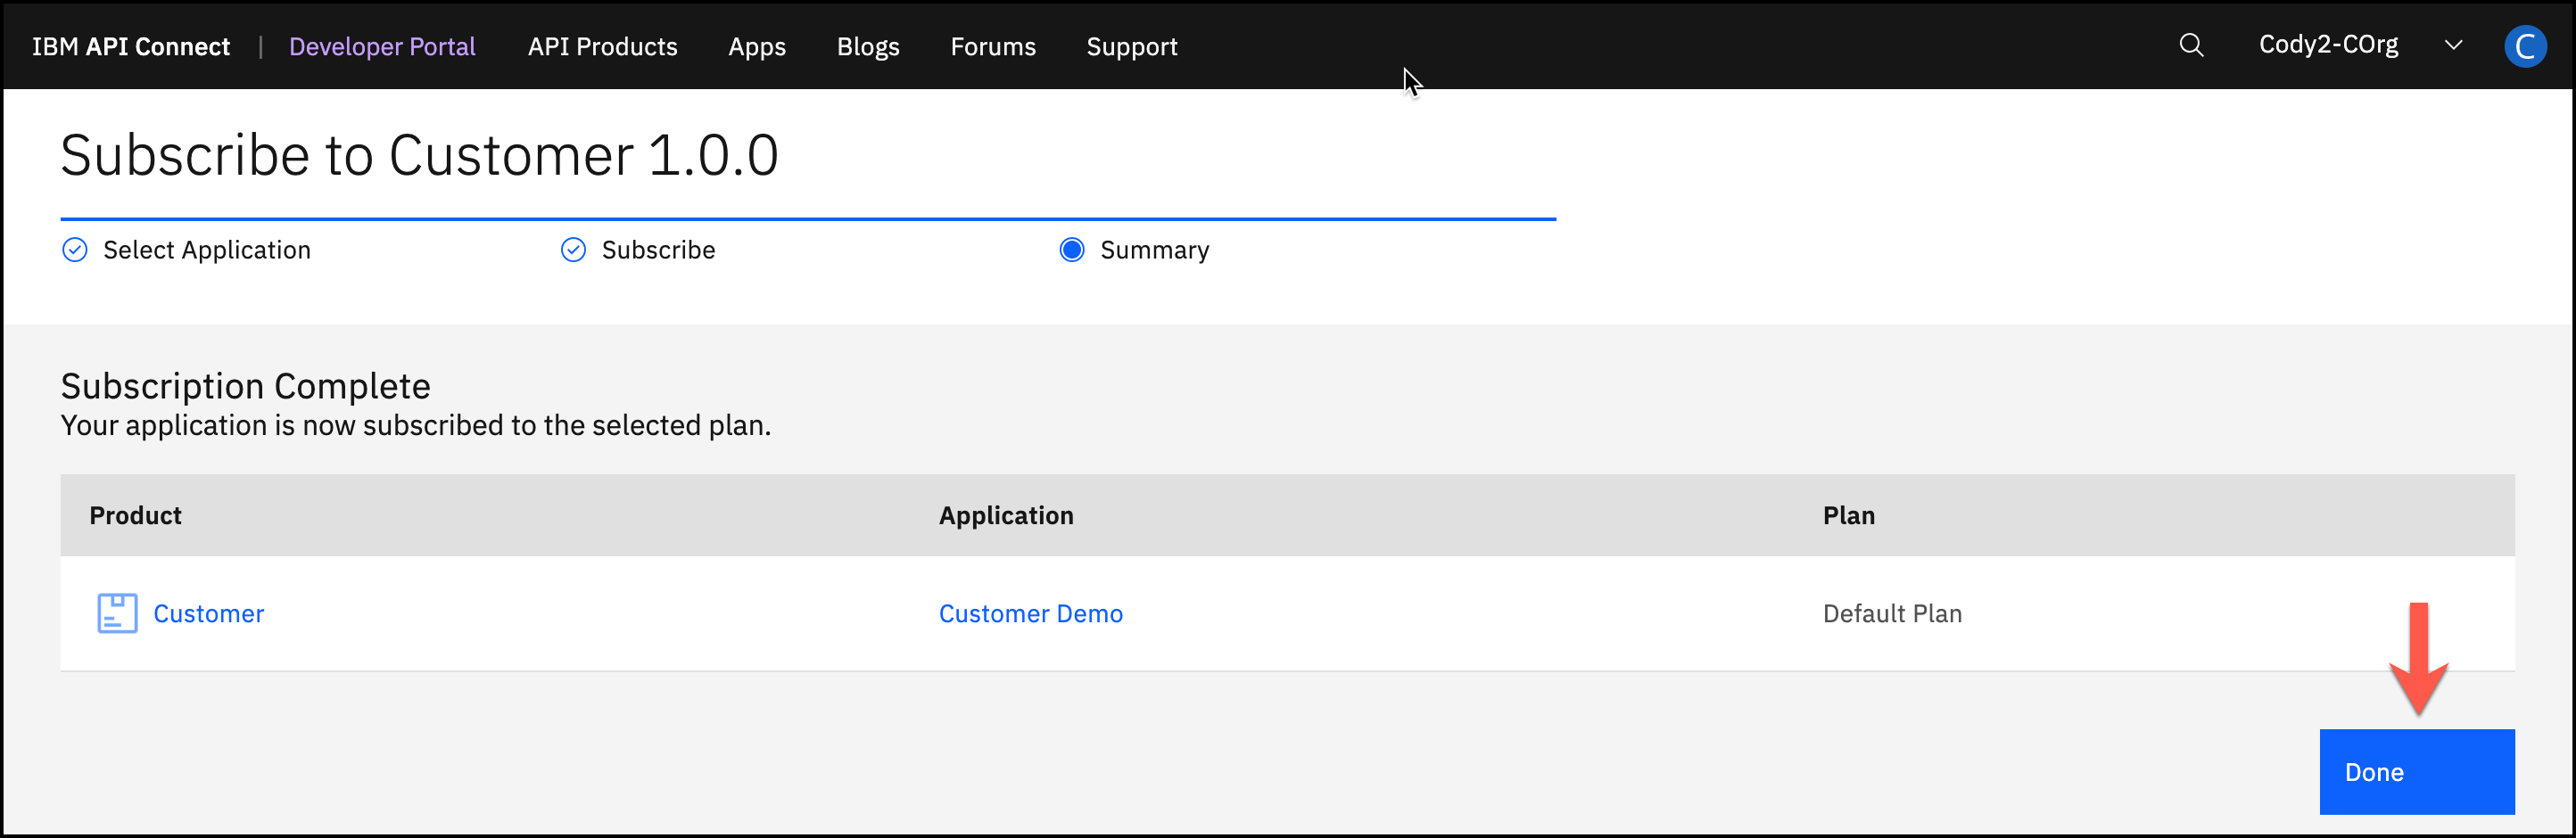
6. Click Done.
5. Test the API
The API Connect Developer Portal allows consumers to test the APIs directly from the website. This feature may be enabled or disabled per API.
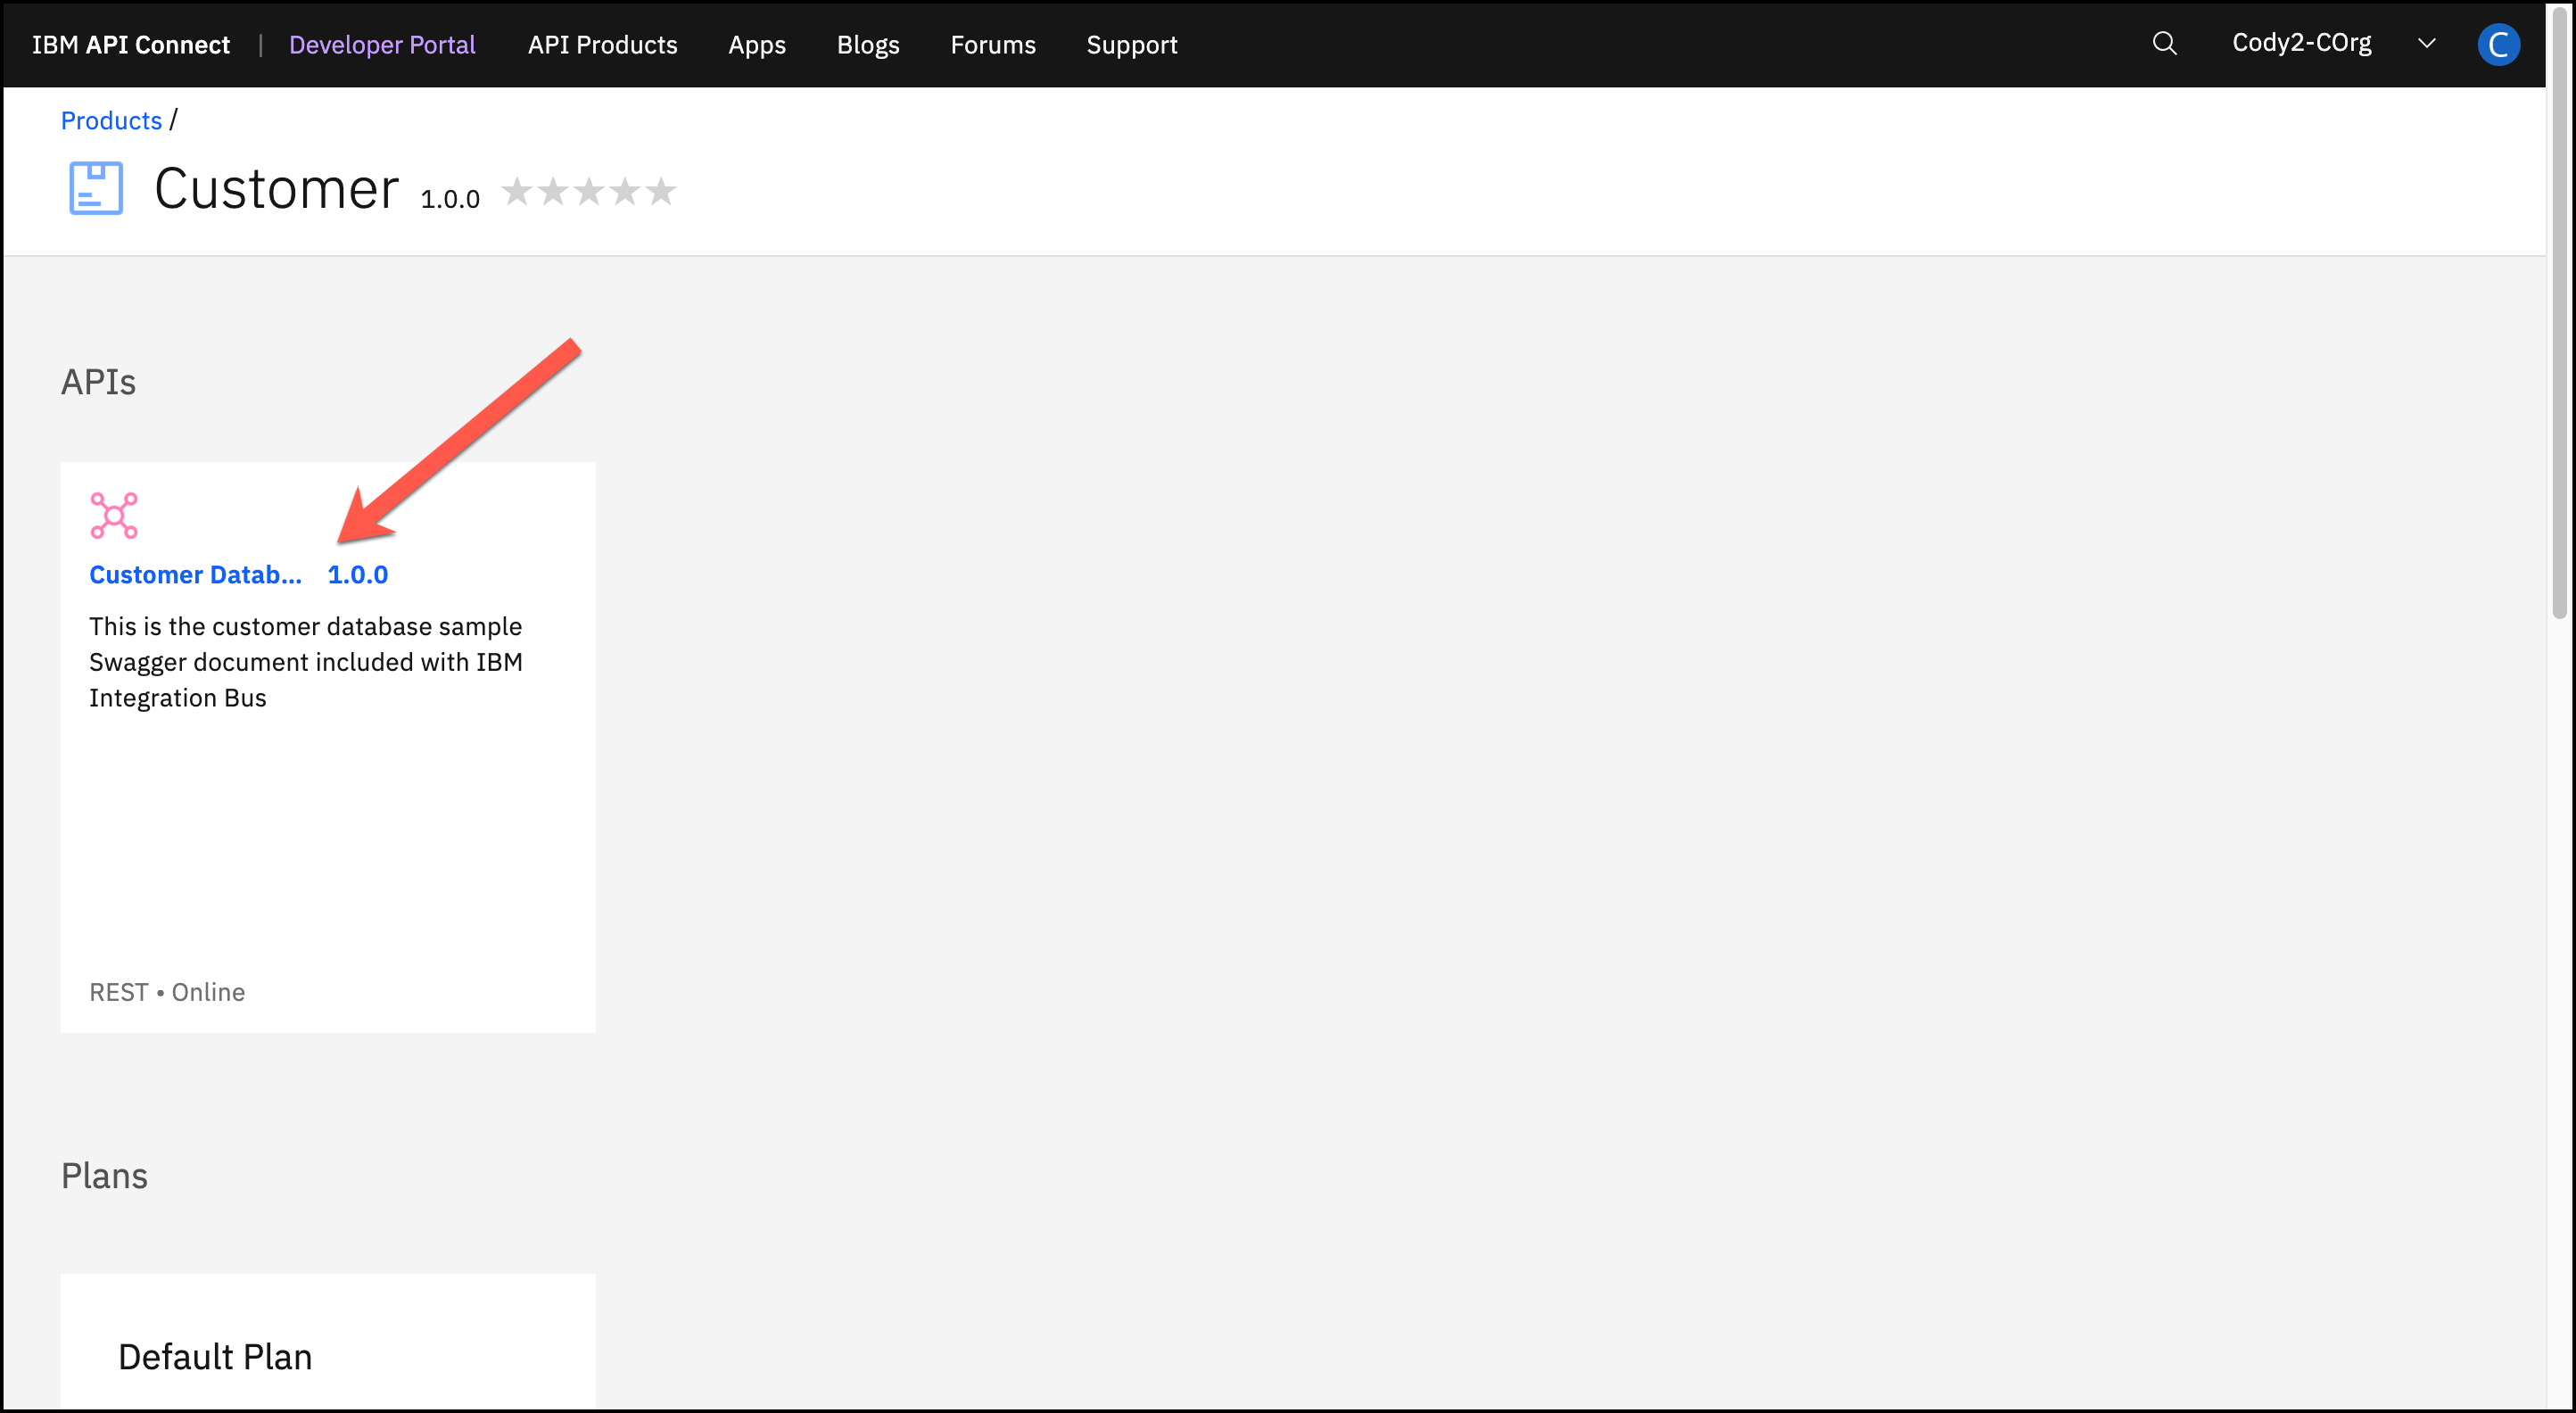
1. You should be on a screen that shows the API and Plan for the Customer 1.0.0 Product. If you are not on this screen, click on API Products in the top navigation and select the Customer 1.0.0 Product.

2. Click on the Customer Database 1.0.0 API.
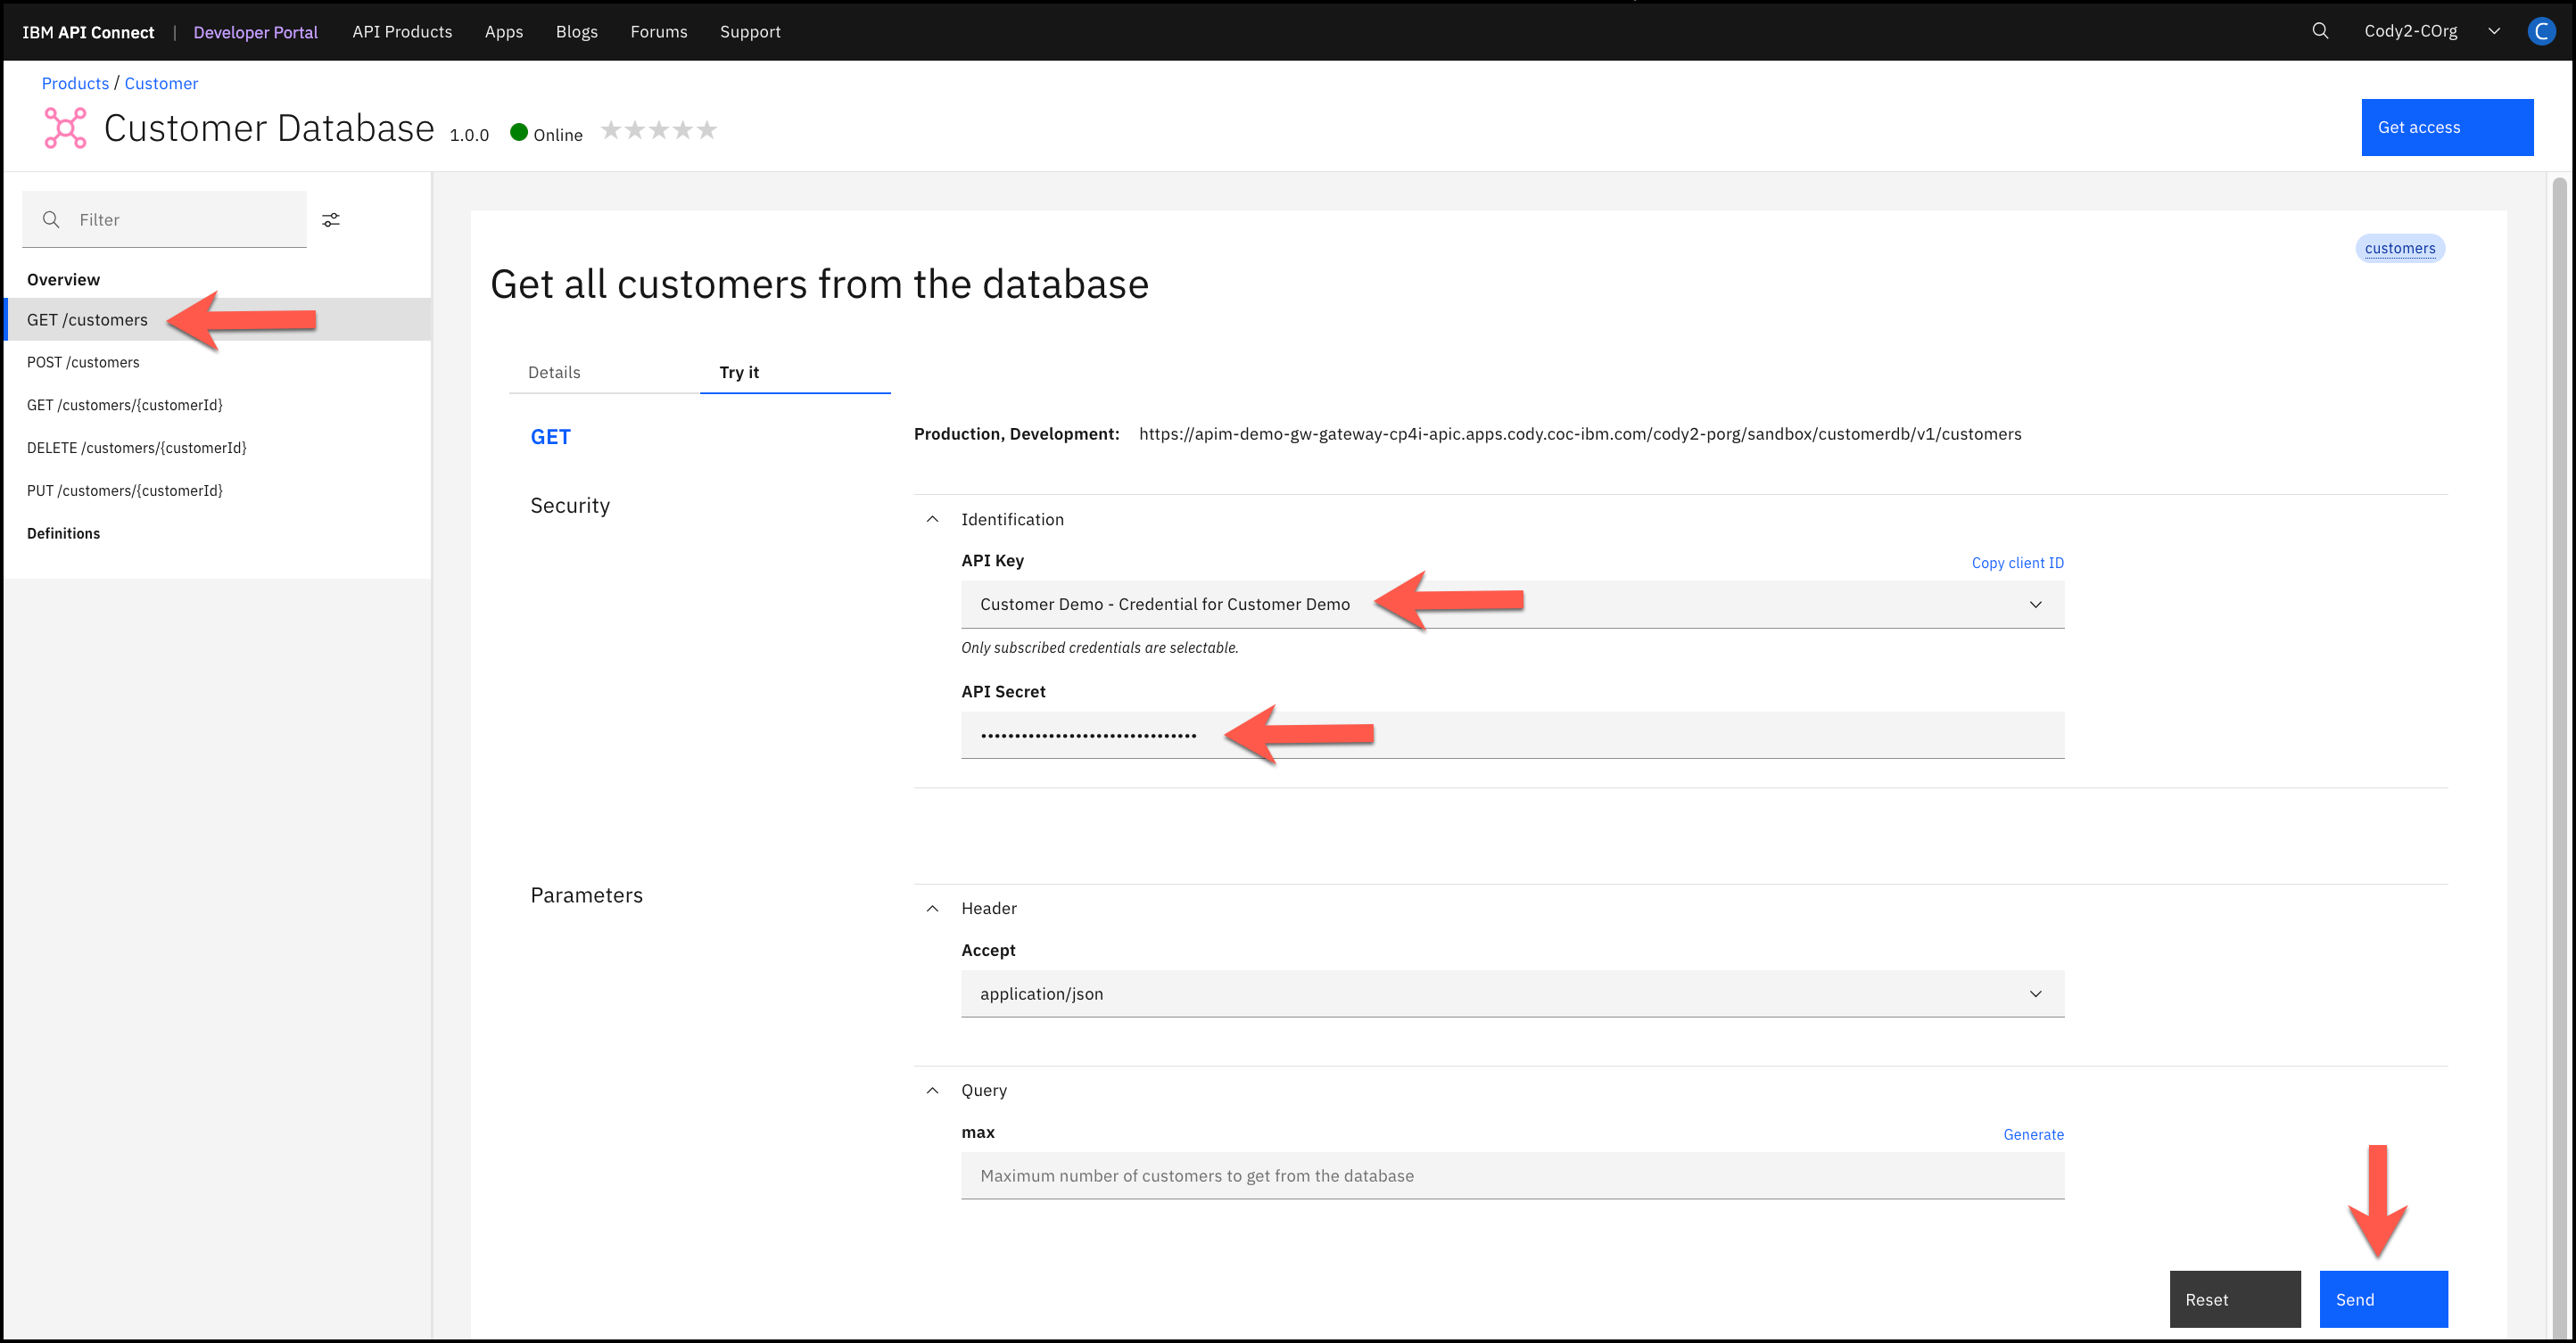
3. Click on the GET /customers operation.
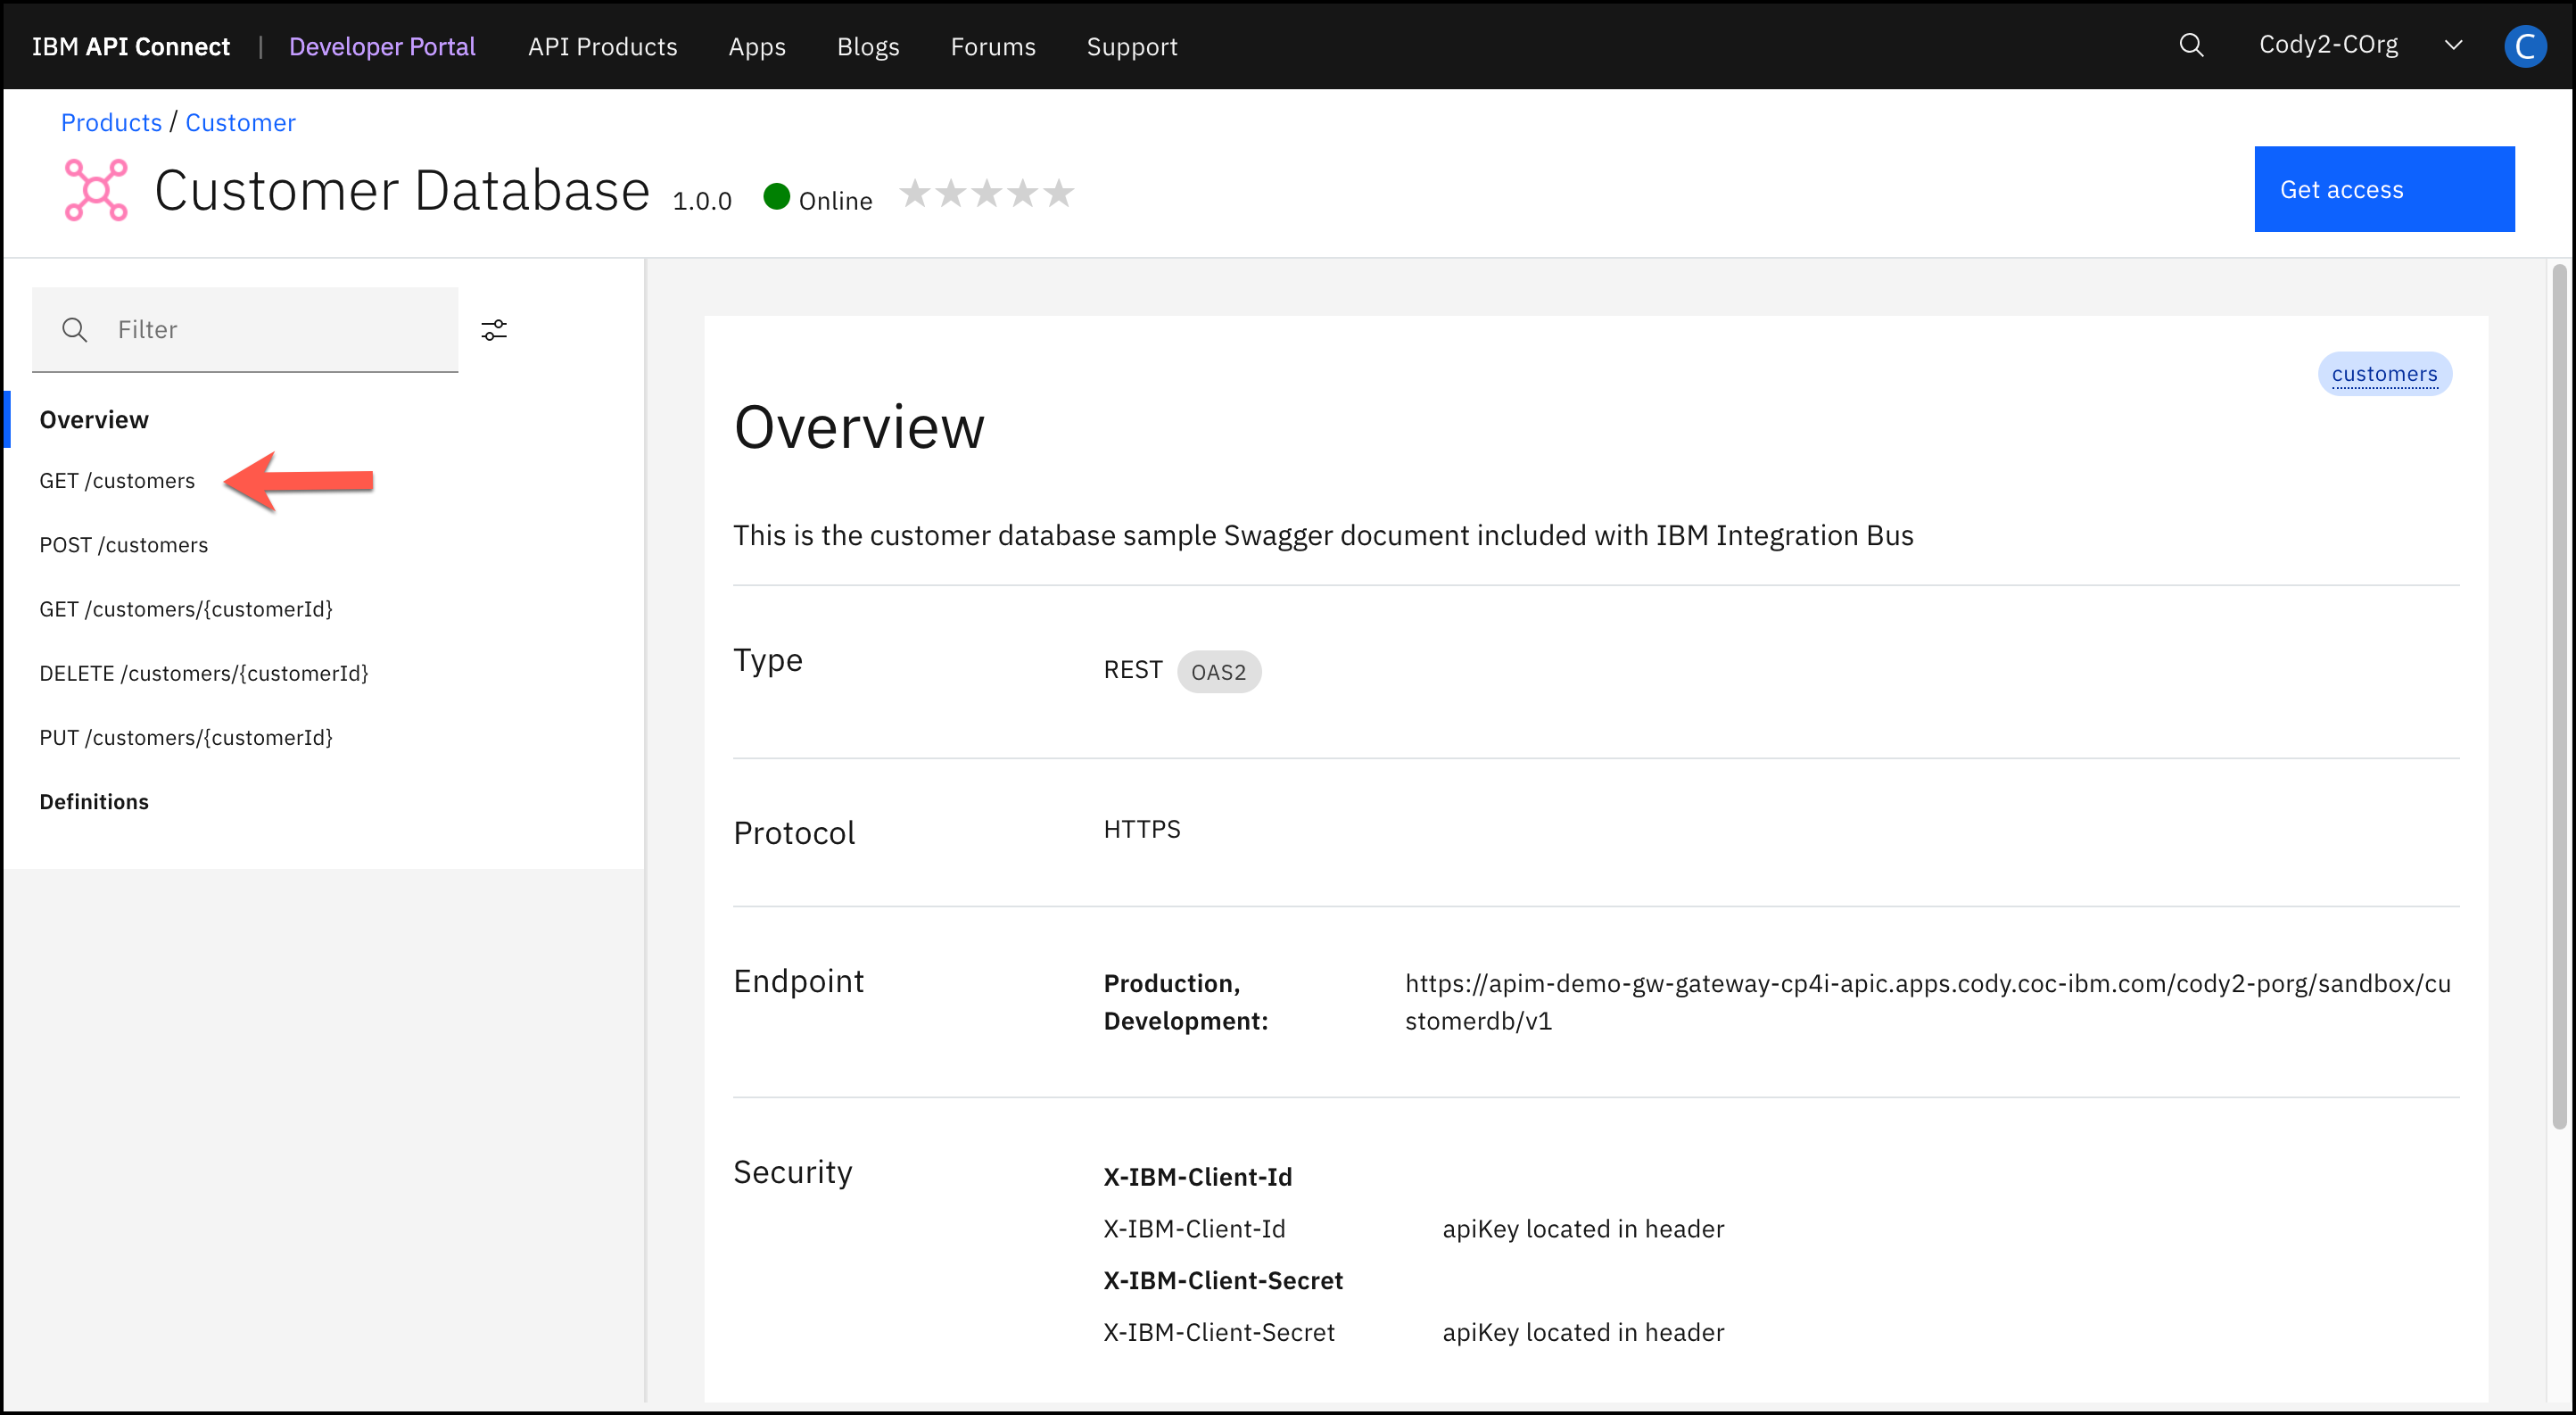
4. On the right, you will find information about the request parameters and links to the response schemas. Click the Try it tab.

5. If you only have one application registered, it will be automatically selected in the API Key drop-down menu. If you have more than one, select the application (Customer Demo) which is subscribed to this API Product.
Paste your Client Secret in the API Secret field.
Click Send.
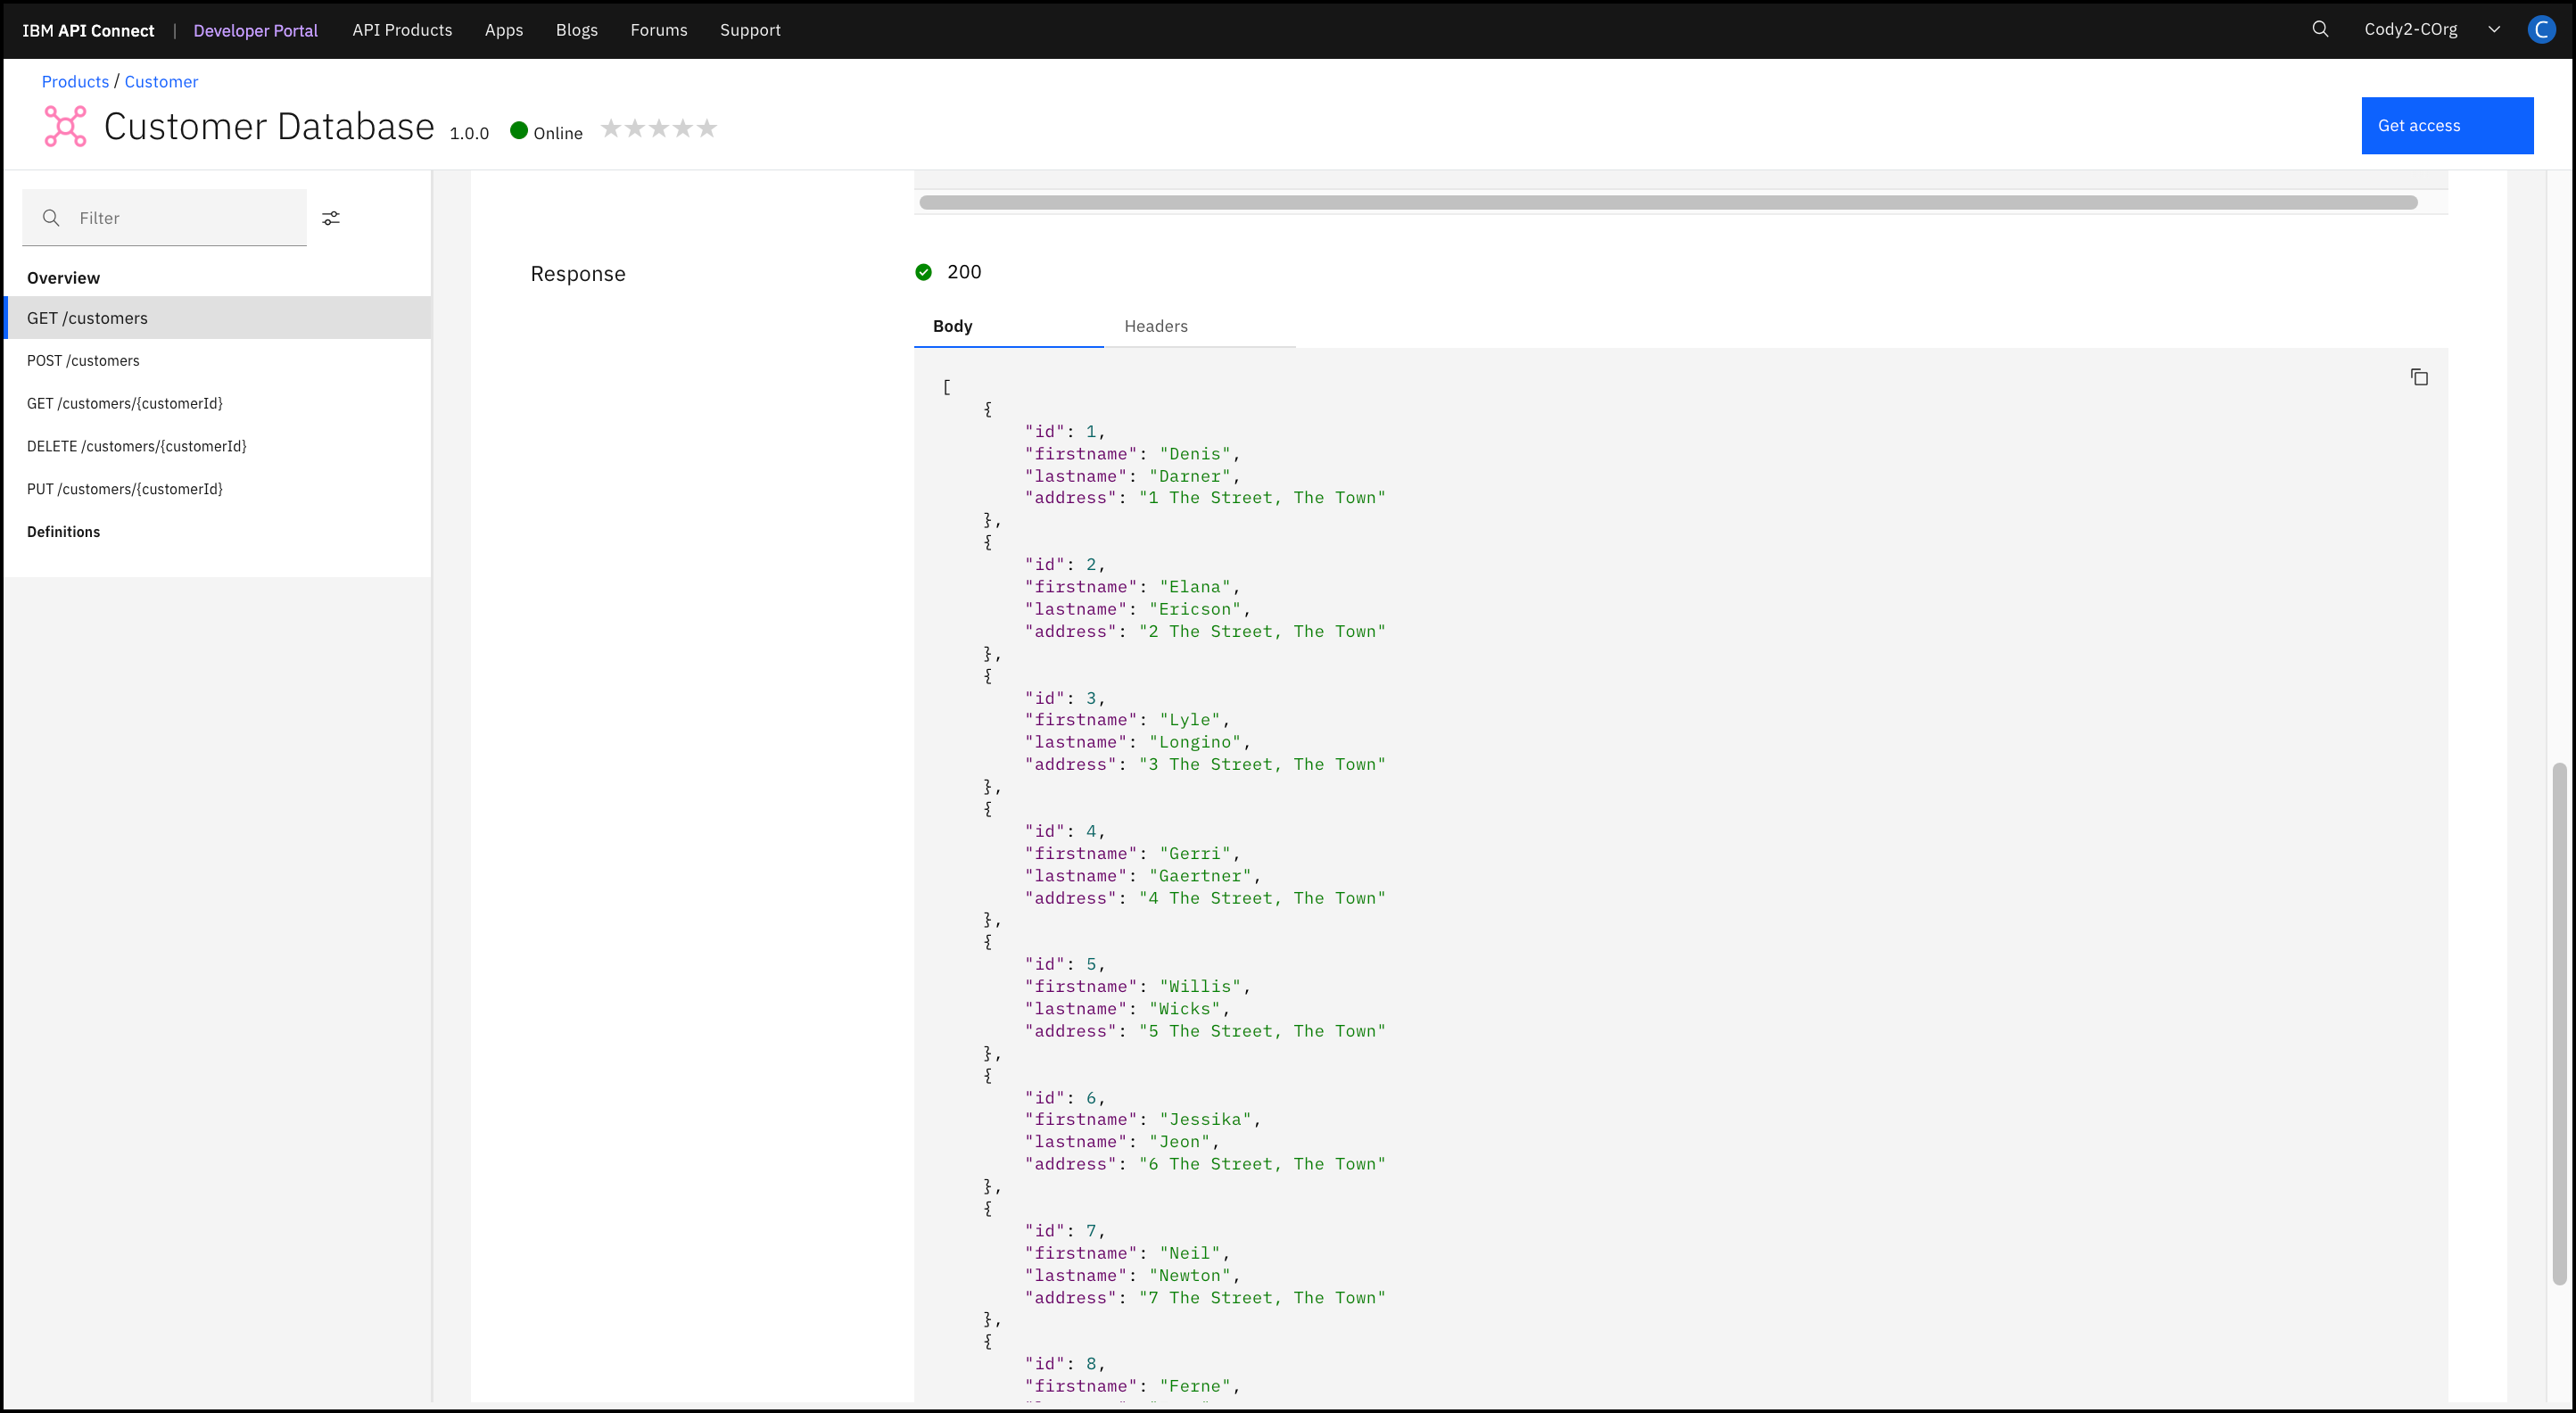
6. Scroll down to see the call results.
Note: If running for the first time, you may see Code: 0 No response received. Causes include a lack of CORS support on the target server, the server being unavailable, or an untrusted certificate being encountered. Clicking the link below will open the server in a new tab.
If the browser displays a certificate issue, you may choose to accept it and return here to test again.
7. Feel free to test the rest of the operations. Testing will be similar to the testing that was completed in the “Create and Secure an API to Proxy an Existing REST Web Service” lab.
6. Summary
Congratulations, you have completed the Developer Portal Experience lab. Throughout the lab, you learned how to:
-
Navigate to the Developer Portal
-
Create a Portal account
-
Create an application and subscribe to a Plan
-
Test a API in the Developer Portal