IBM Integration PoT Labs Home page
Setup environment for MQ PoT
Download artifacts for MQ on CP4I PoT
You should be logged on your VDI as ibmuser.
-
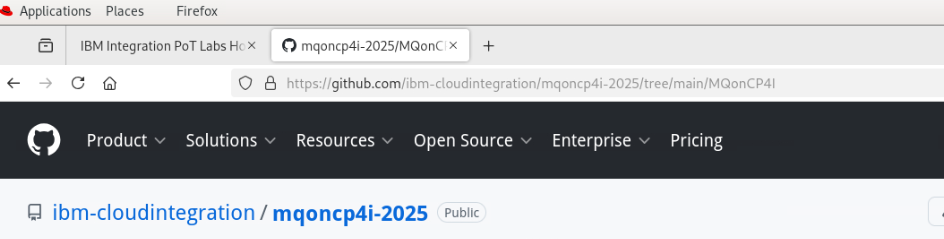
Open a Firefox browser tab and navigate to Github MQonCP4i.
-
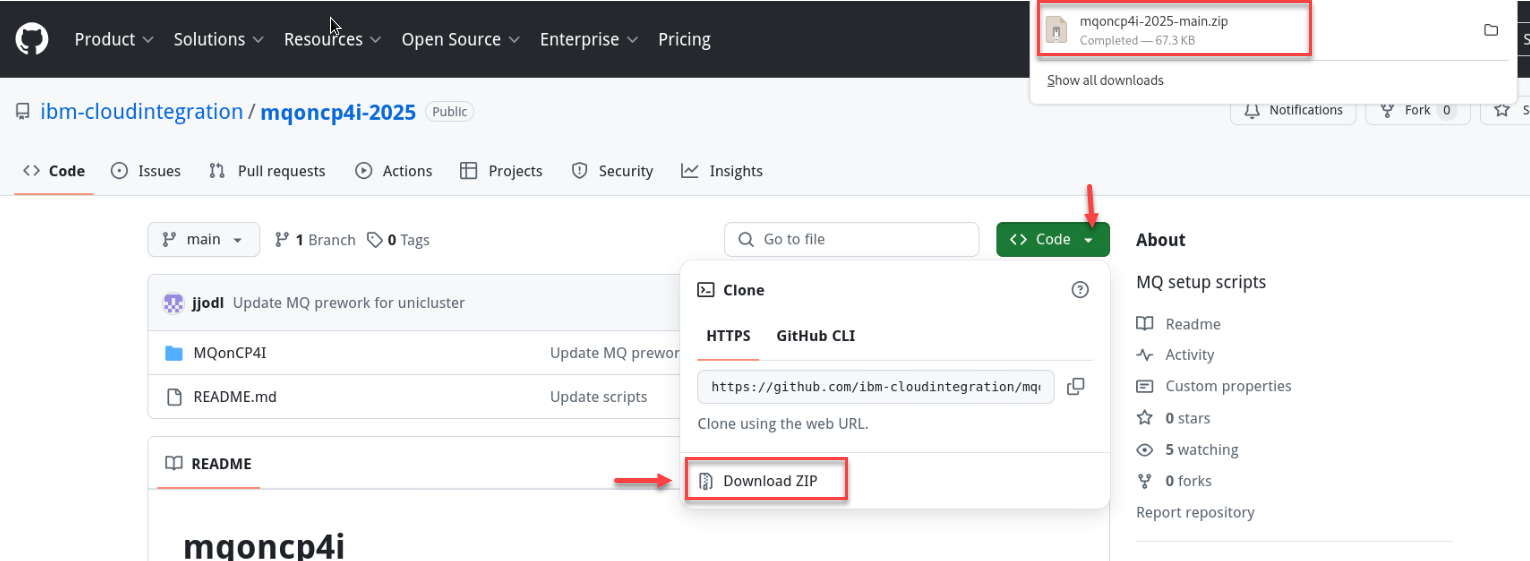
Click Code and select Download zip.
-
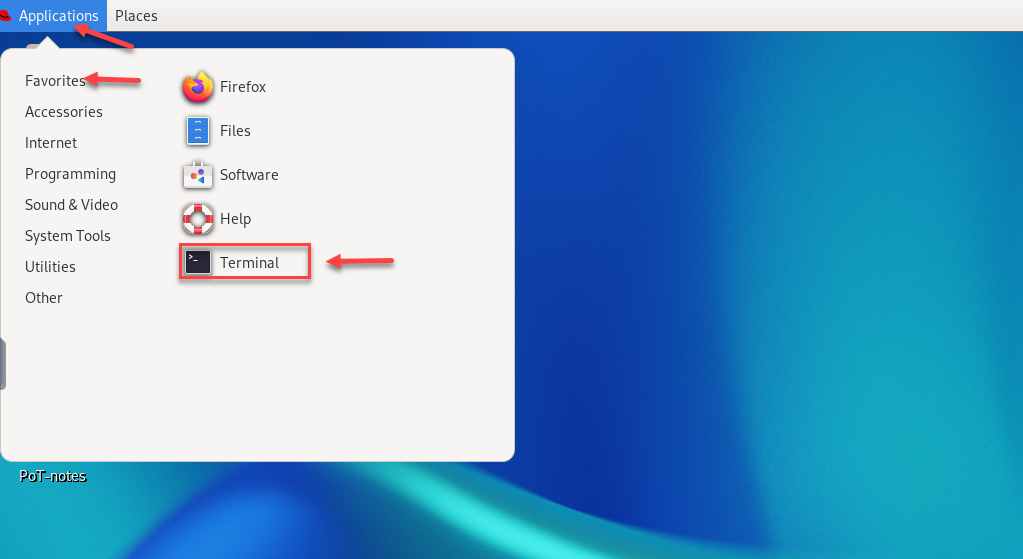
Open a terminal window by clicking on the Application on top menu and under Favorites click the icon for Terminal.
-
Enter the following command to see the zip file you just downloaded.
cd Downloads -
Enter the following command to unzip the downloaded file:
unzip mqoncp4i-2025-main.zip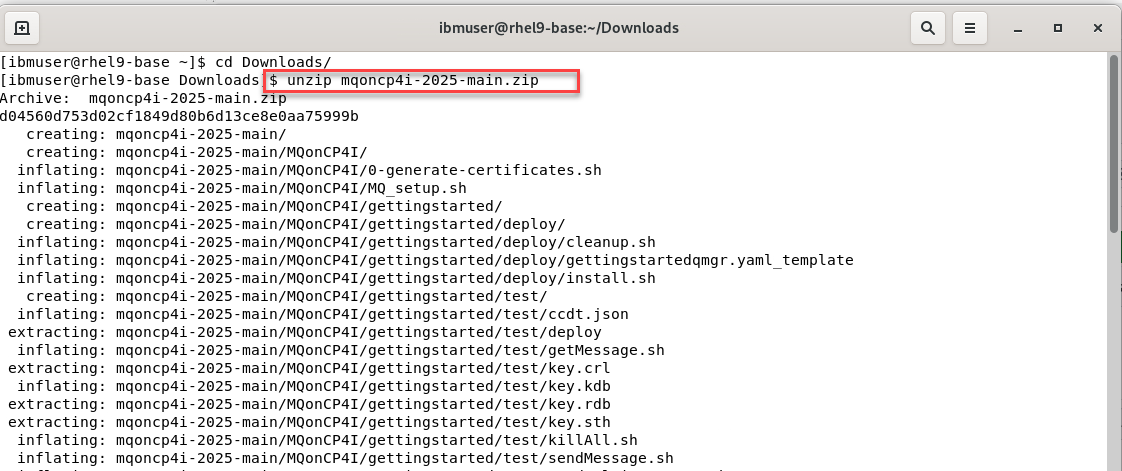
-
Move the unzipped directory to your home directory with the following command:
cd mqoncp4i-2025-mainmv MQonCP4I/ ~/
This will create the directory /home/ibmuser/MQonCP4I. Change to your home directory and list the contents of the directory to verify that it contains MQonCP4I.
cd ~/MQonCP4I ls -l -
Now first we will need to update the setup.properties_template file with cluster info so that the scripts will be able to login to the correct clusters. Enter the following command to edit file.
gedit setup.properties_template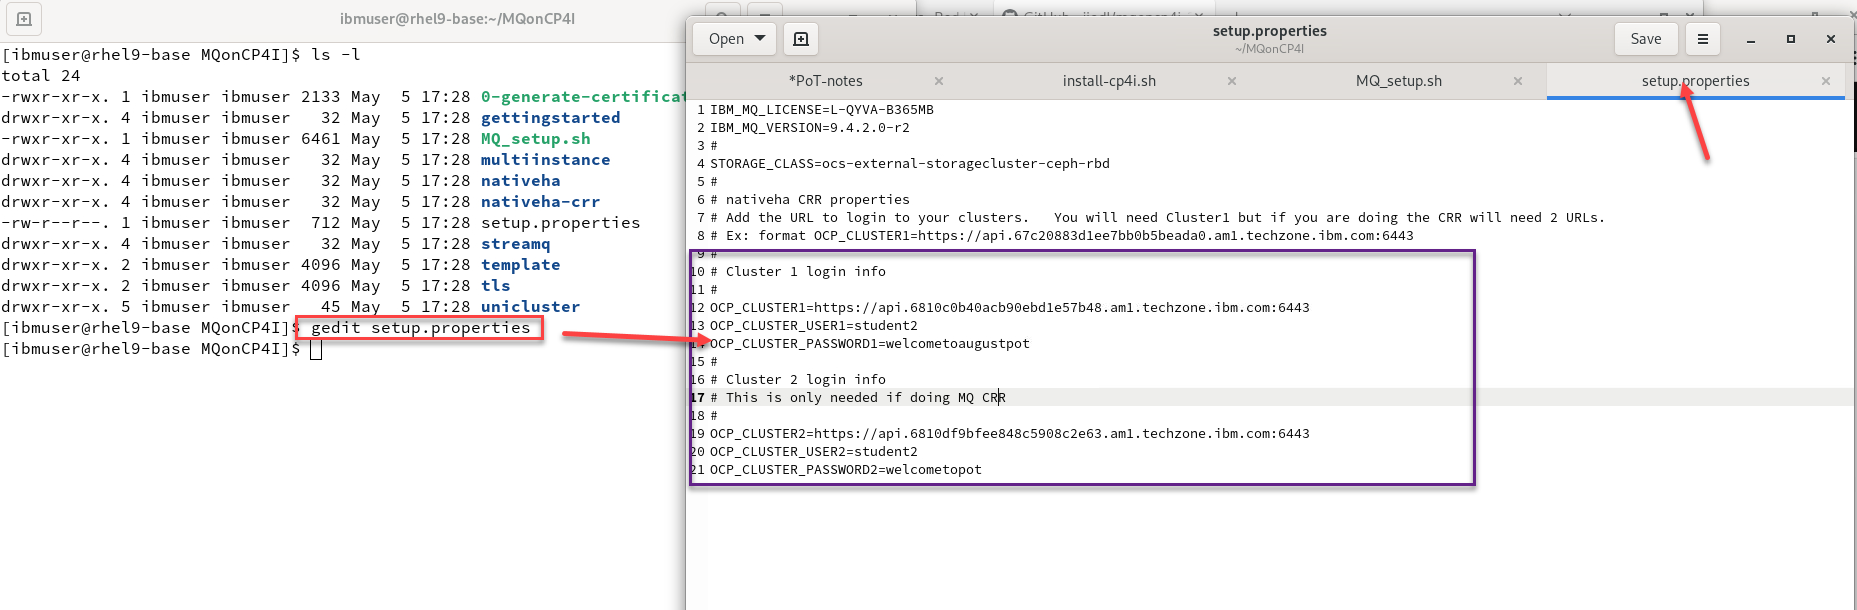
-
Update OCP Cluster 1 with the primary cluster URL.
If you are going to do the MQ NativeHA CRR labs you will have a second cluster so update the OCP Cluster 2 with that cluster URL.
-
Update the OCP CLUSTER USER and PASSWORD with the ones provide to you. This will be the same for both clusters.
-
Select Save
-
-
Now we will need to change the mode to executable for all the scripts. From the MQonCP4I directory run the following command.
find . -type f -iname "*.sh" -exec chmod +x {} \; -
Now we will run the script that will create all the install scripts for your userid.
./MQ_setup.sh- When you run the MQ_setup.sh You will use your student id that was given to you from the instructor.
**Note:** In this example we are user student1 so would use that as the namespace and 01 as the student id. 1. If will ask if this is correct. enter **Y**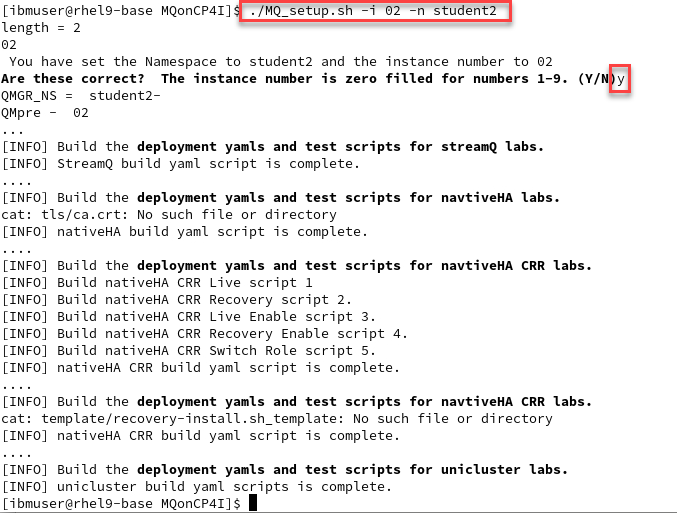
Great! You are now ready to start working in the MQ and Kafka labs.